Create New File Shares
Create New File Shares
-
Once connected to FSx/W Workshop Windows Instance
- Find and select fsmgmt.msc
-
In Shared Folders
- Select Action
- Select Connect to another computer….
-
For Select Computer
- Make selection Another computer
- Paste DNS Name and select OK
-
Make file share
- Right-click Shares folder
- Select New Share
- Select Next
-
Select Browse….
- Select d$.
-
Select Make New Folder.
- Name application for the new folder.
- Select OK

-
Complete the following information:
- Folder path: D:\application
- Share name: application
- Create a new path: Yes
- Shared folder permissions: Customize permissions » Everyone Full Control

-
Select Finish
- You can create a few more shared files similar to the above steps.
Manage shared files
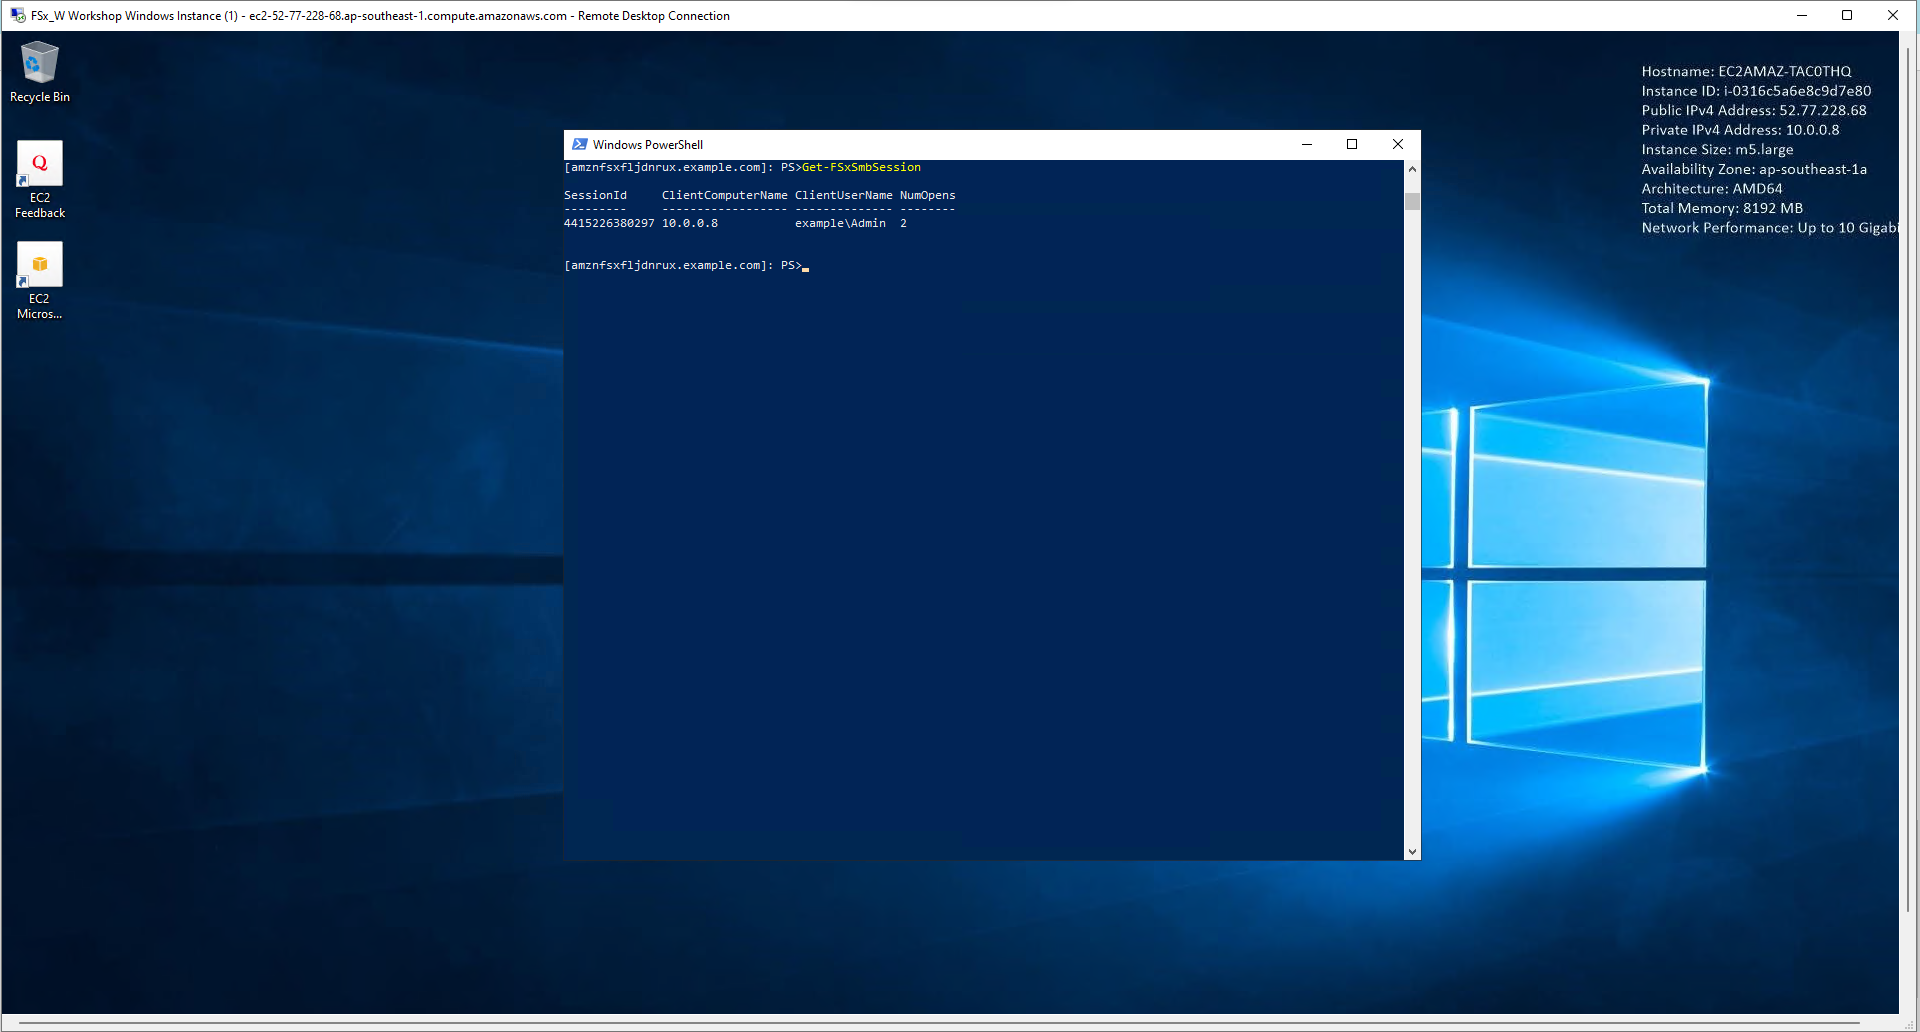
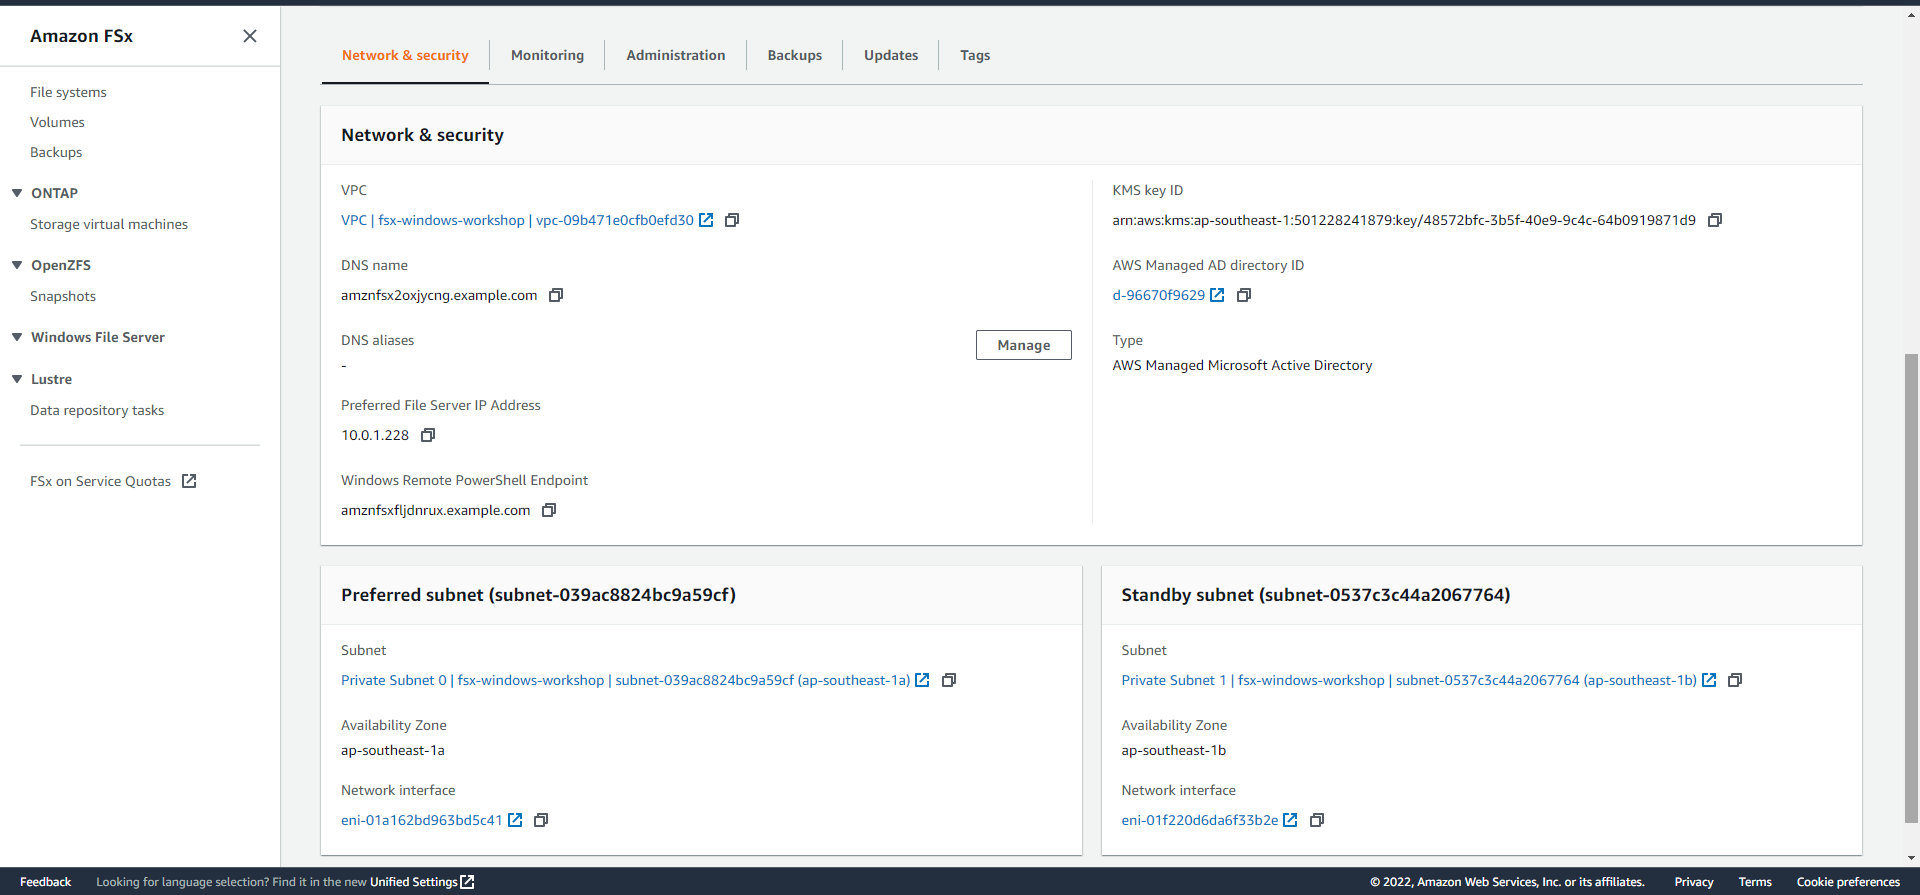
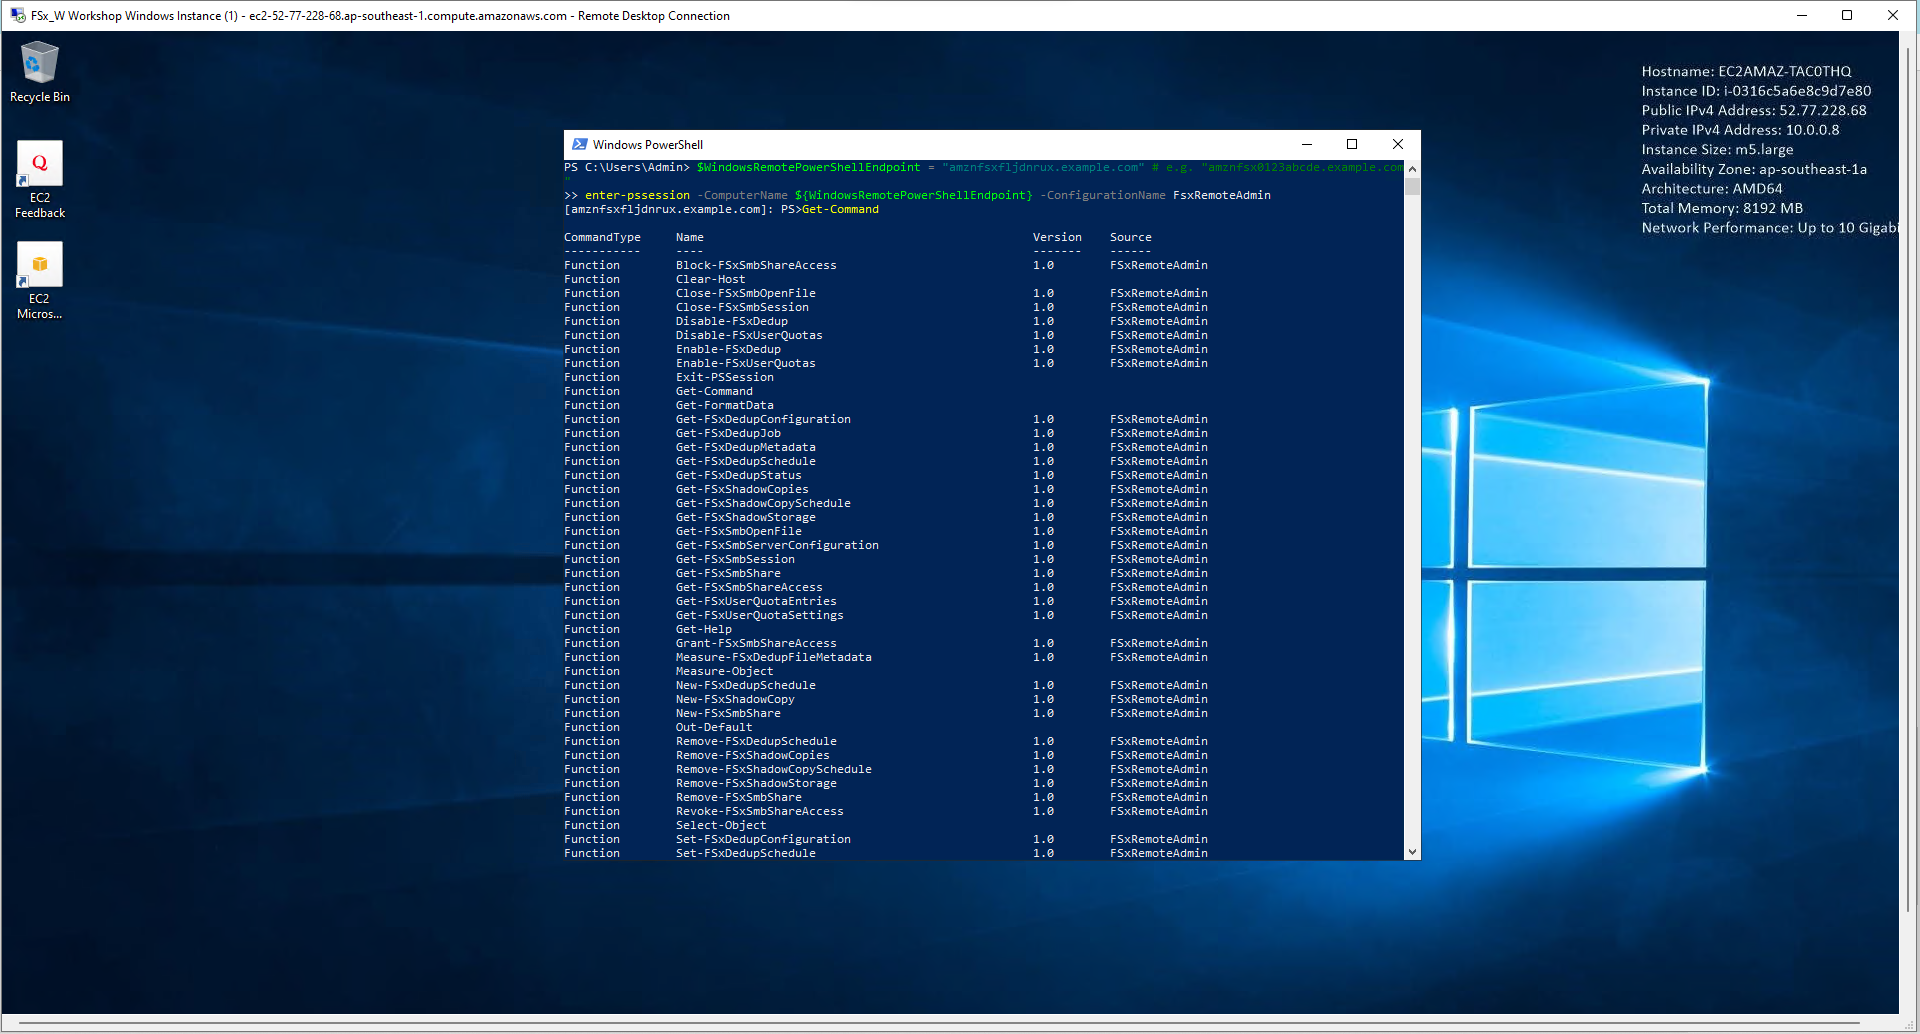
- Go back to Amazon FSx copy Windows Remote PowerShell Endpoint
- Open Windows PowerShell
- Execute the following commands:
$WindowsRemotePowerShellEndpoint = "windows_remote_powershell_endpoint" # e.g. "amznfsx0123abcde.example.com"
enter-pssession -ComputerName ${WindowsRemotePowerShellEndpoint} -ConfigurationName FsxRemoteAdmin
- Remember to replace it with your Windows Remote PowerShell Endpoint.

- We will execute the command in the Remote Windows PowerShell Session interface

- Execute the following command:
Get-Command
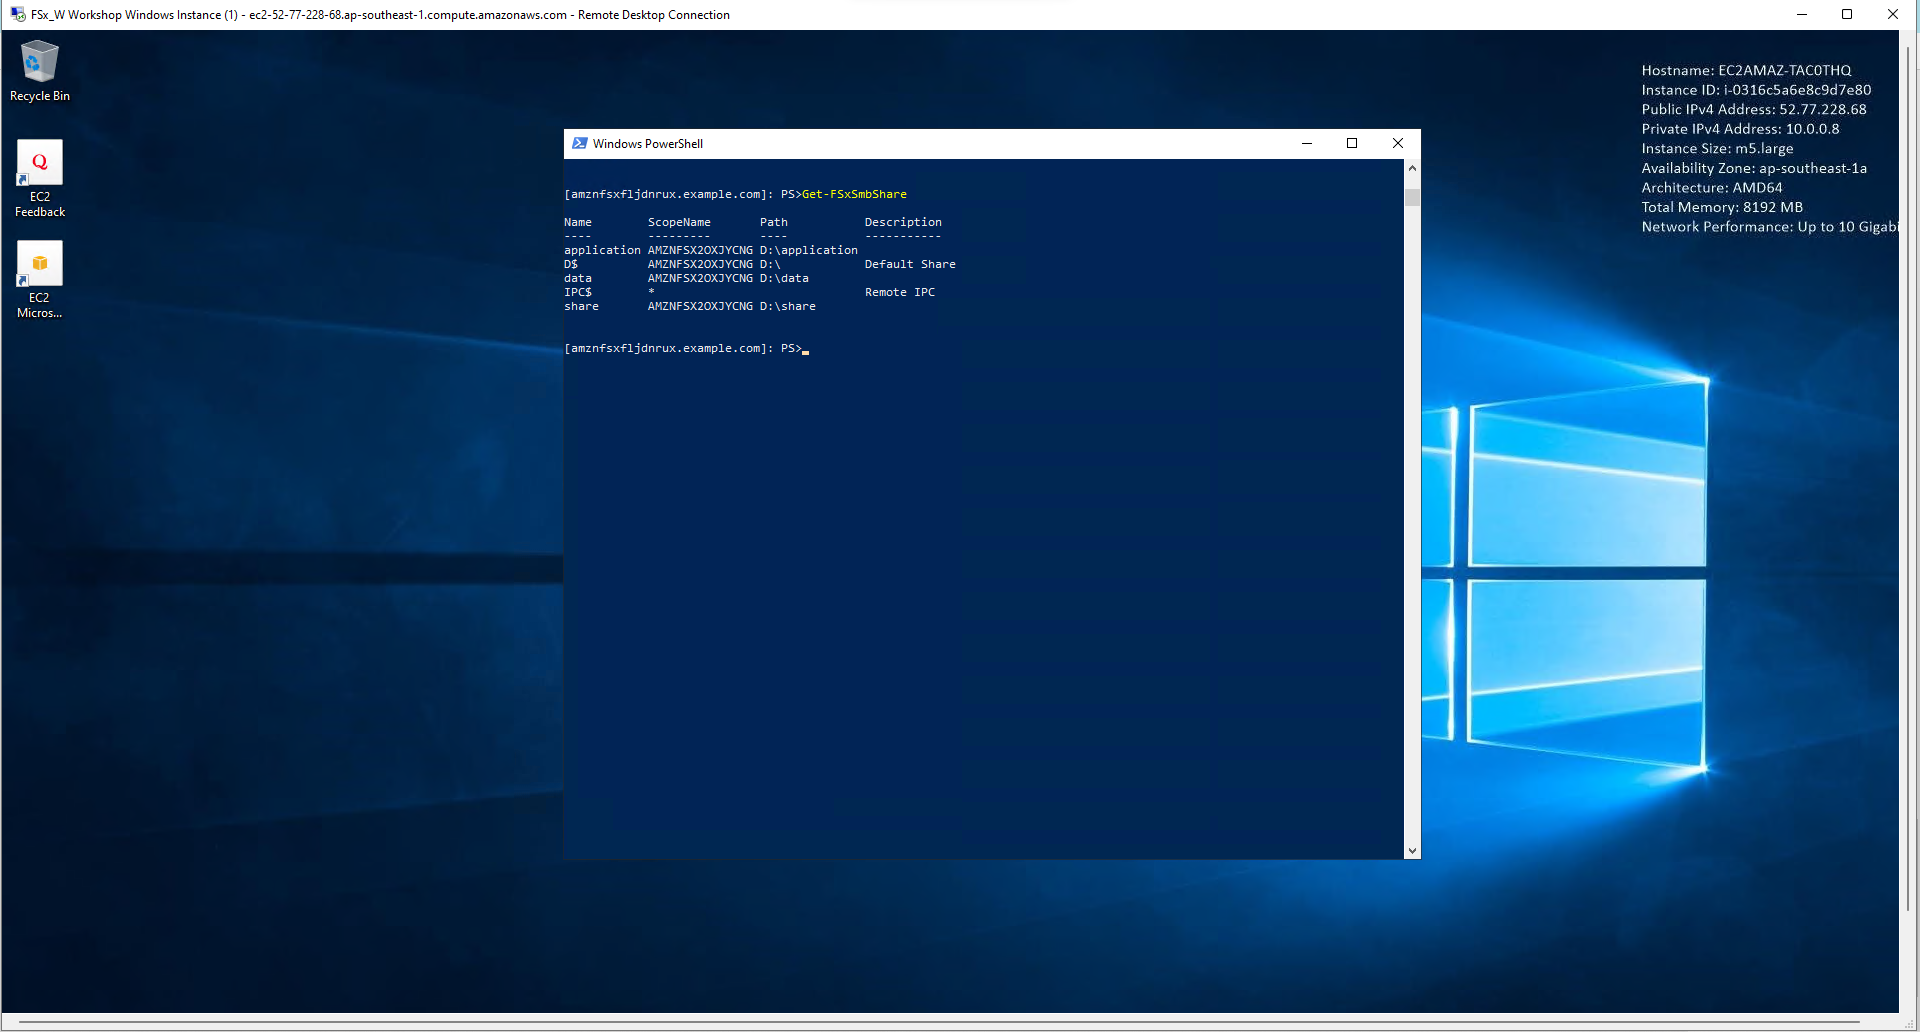
- Continue to execute the command:
Get-FSxSmbShare
- Execute the command:
Get-FSxSmbSession