Create new file shares
Create new file shares
This section will create new file shares.
You can use standard Microsoft tools to create new file shares on your Amazon FSx for Windows File Server.
Note
It will take approximately 15 minutes to complete this section.
Connect to Windows Instance 0
Important
Read through all steps below and watch the quick video before continuing.
Note: Before connecting, make sure that your local computer has the Remote Desktop Protocol (RDP) client installed and that the security group associated with the instance allows inbound RDP traffic.
-
Open the Amazon EC2 console.
Tip
Context-click (right-click) the link above and open the link in a new tab or window to make it easy to navigate between this lab tutorial and AWS console. Make sure you are in the same AWS Region as the tutorial environment.
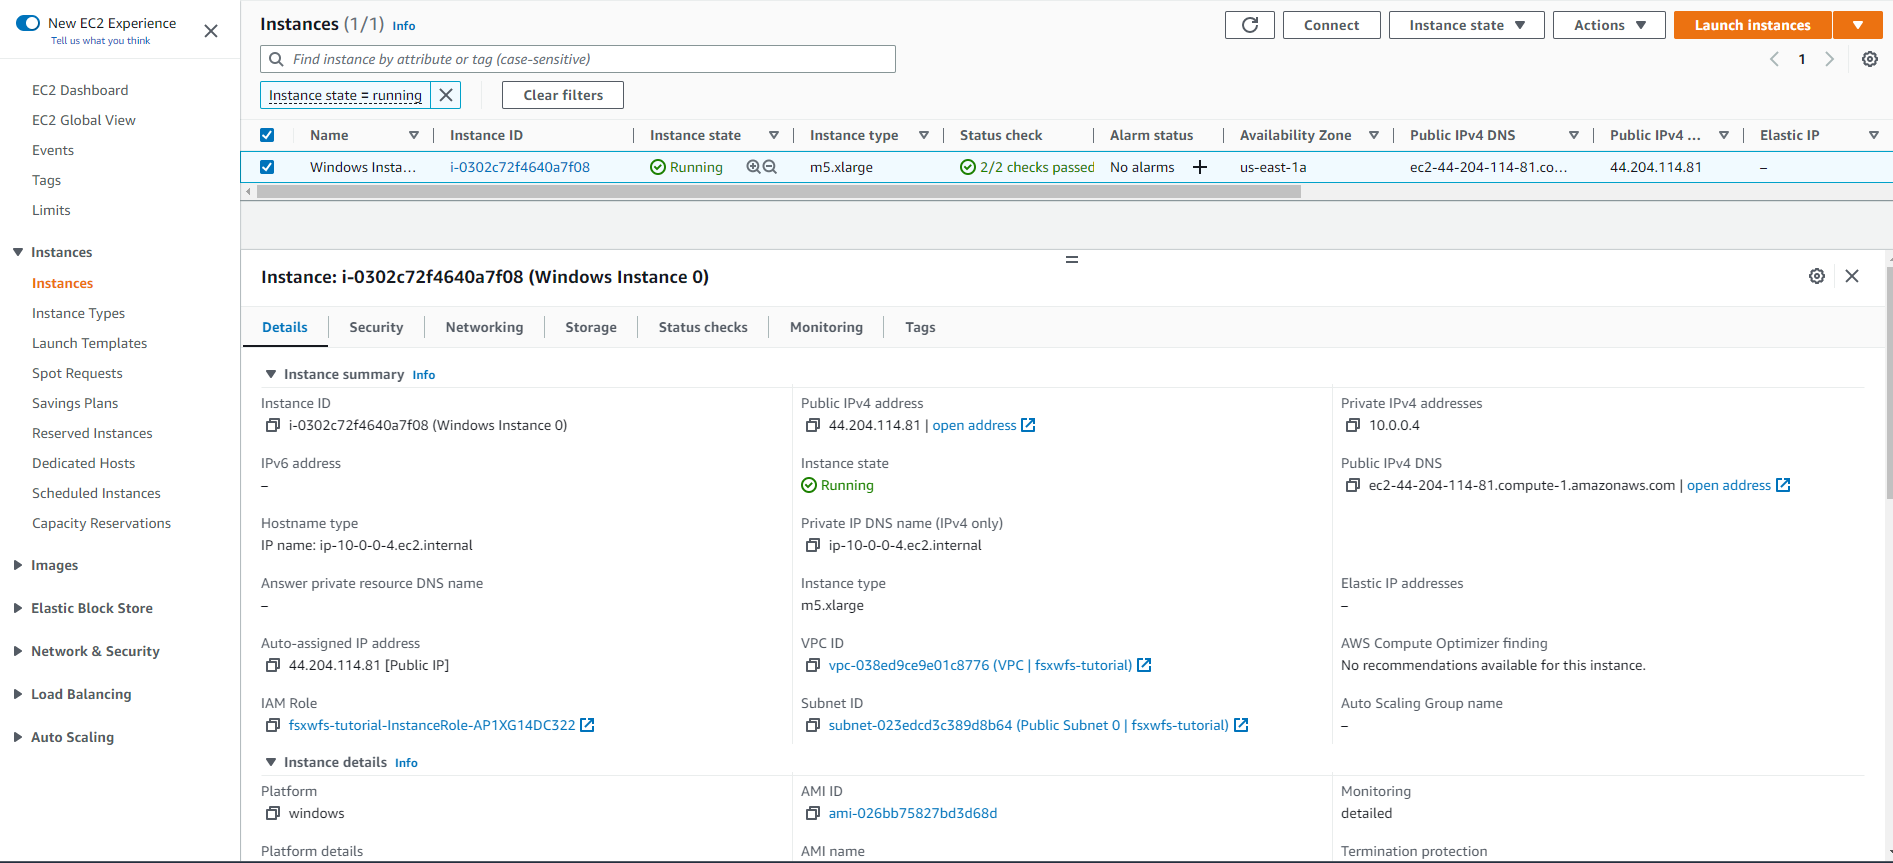
- Select the Running EC2 Instance (Name: Windows Instance 0)
-
Copy the Public DNS (IPv4) url of the Windows Instance 0 instance.
-
Launch your remote desktop application and create a new connection.
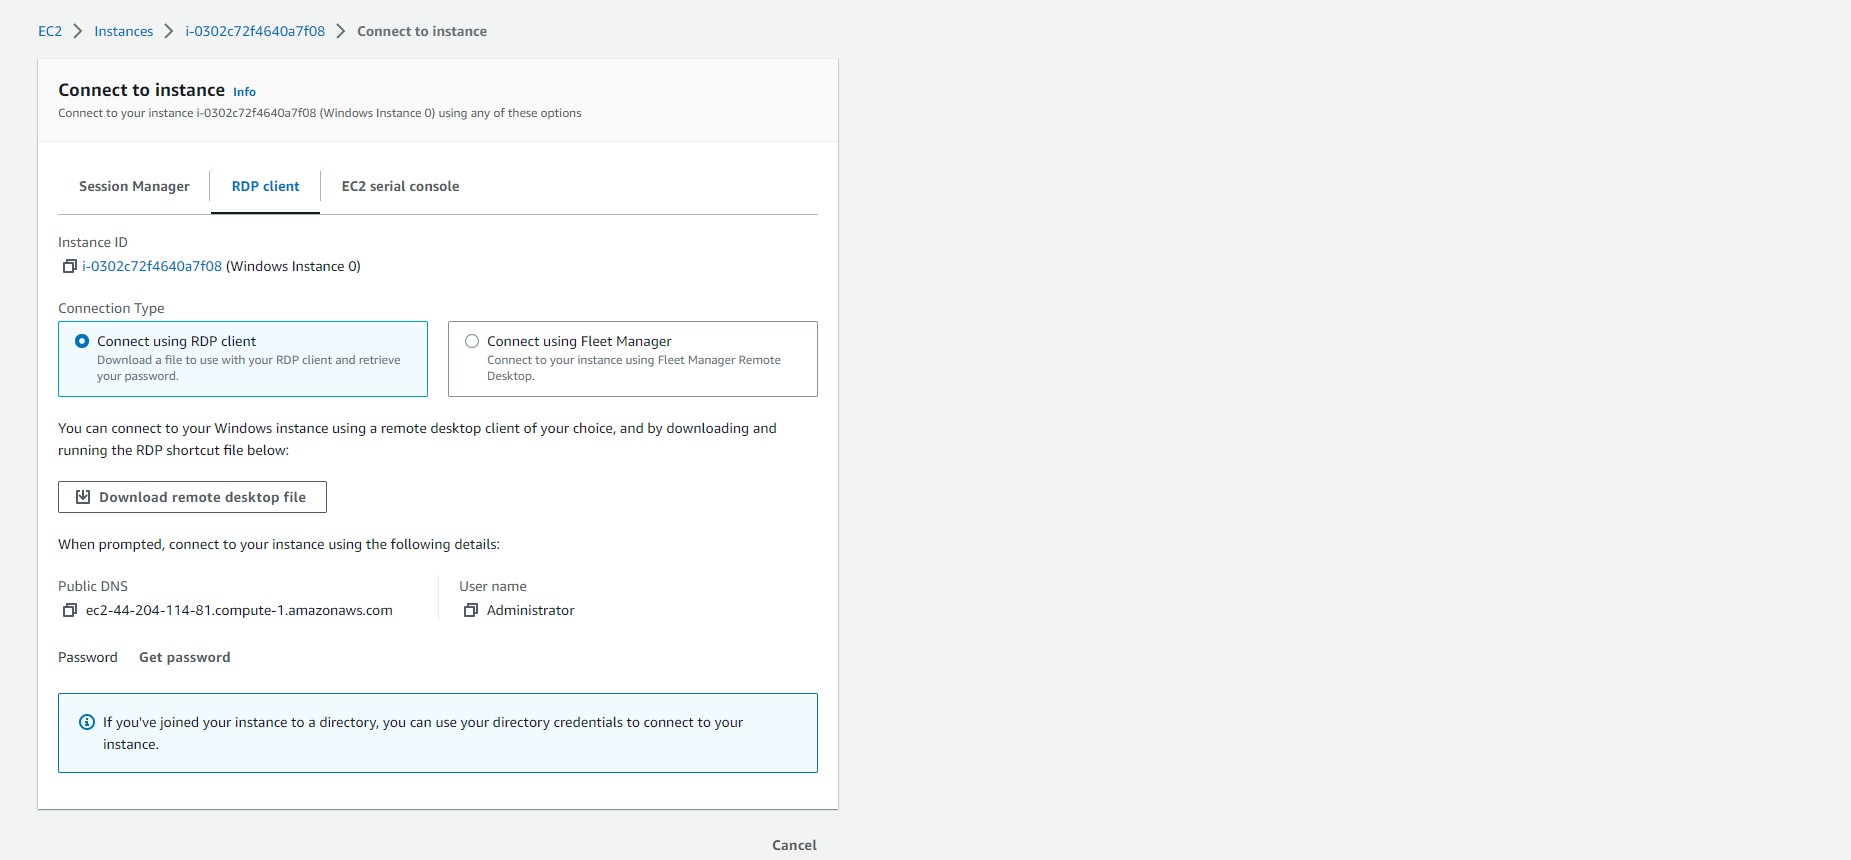
- Use the DNS name copied above as the host name of the new connection.


- Start a new remote desktop session to the new connection (you will retrieve the user name and password from AWS Secrets Manager).
-
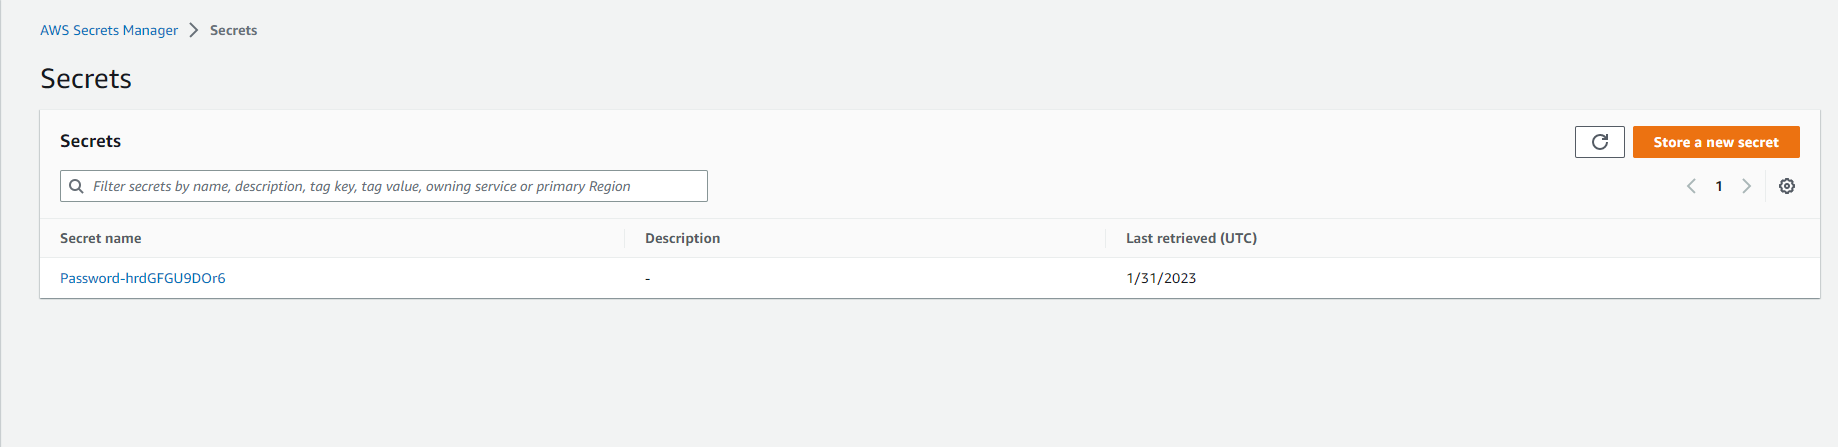
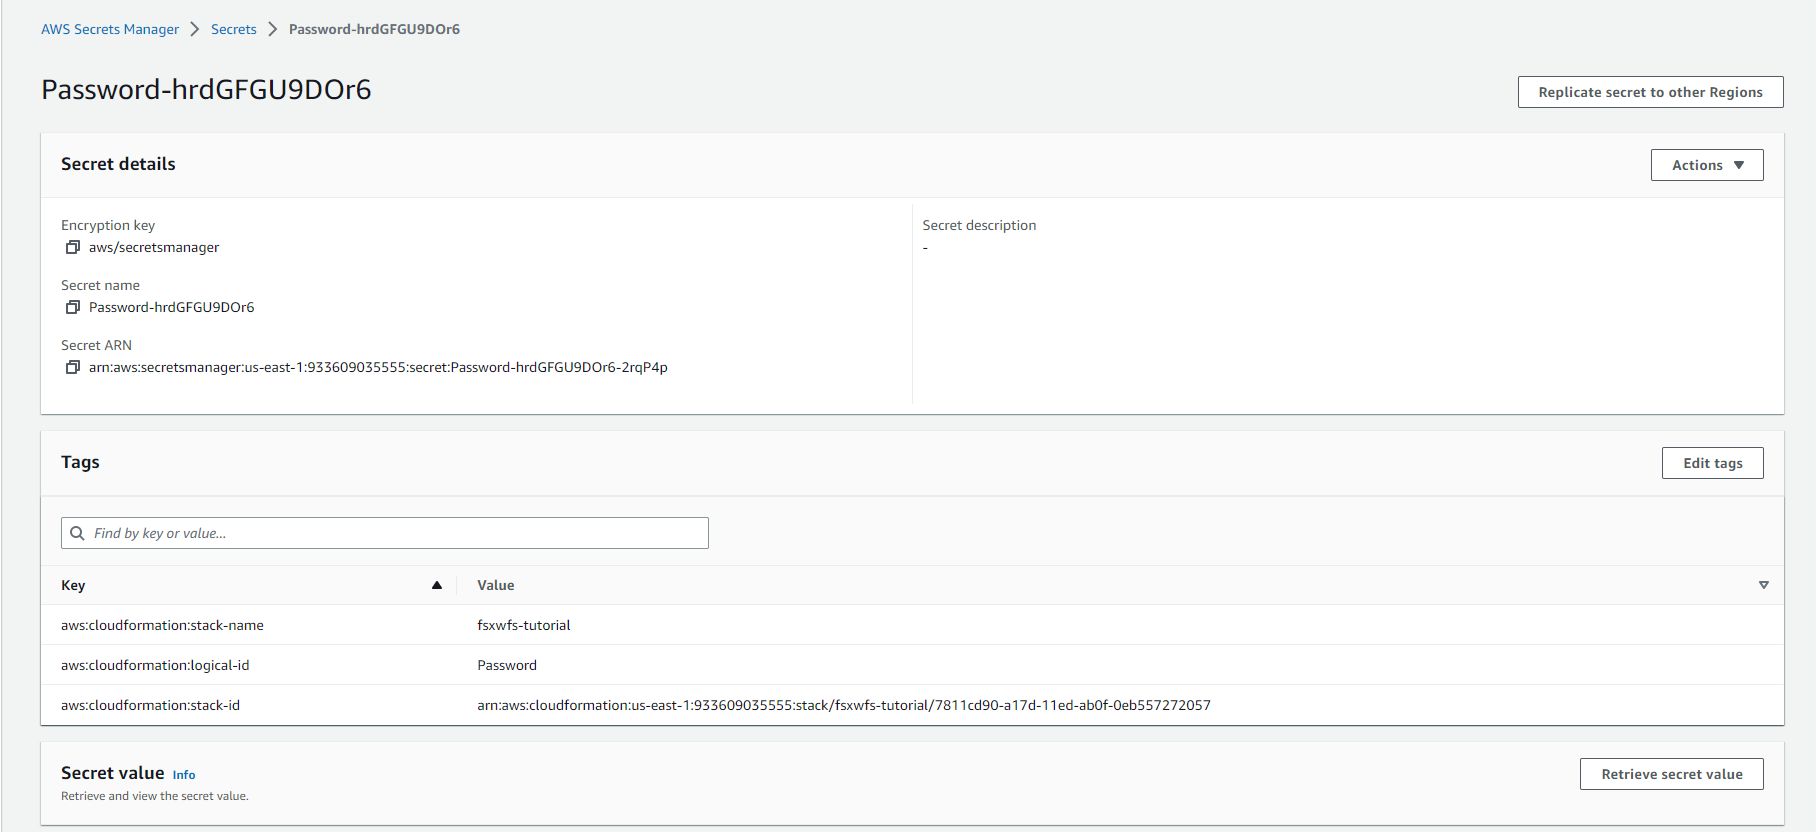
Open the AWS Secrets Manager console.
Tip
Context-click (right-click) the link above and open the link in a new tab or window to make it easy to navigate between this lab workshop and AWS console.
-
Select the Secret name link for Password-<GUID>.
-
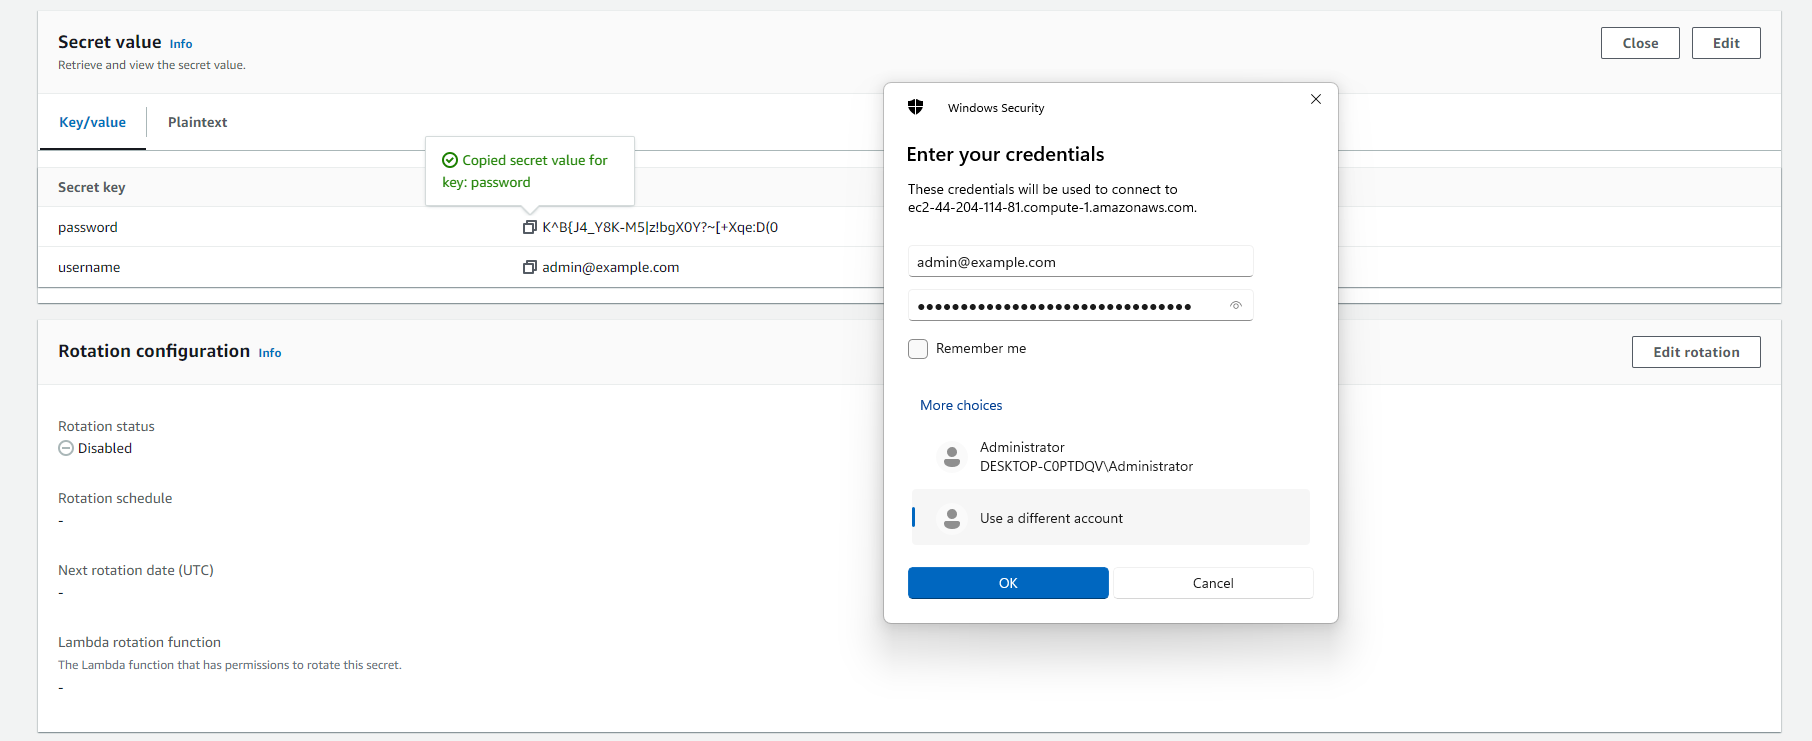
Scroll to the Secret value section and click the Retrieve secret value button.
-
Use the Secret key/value pairs of username and password as the credentials to authenticate to the Windows Instance 0 instance for the remote desktop session.
Map default file share
Important
Read through all steps below and watch the quick video before continuing.

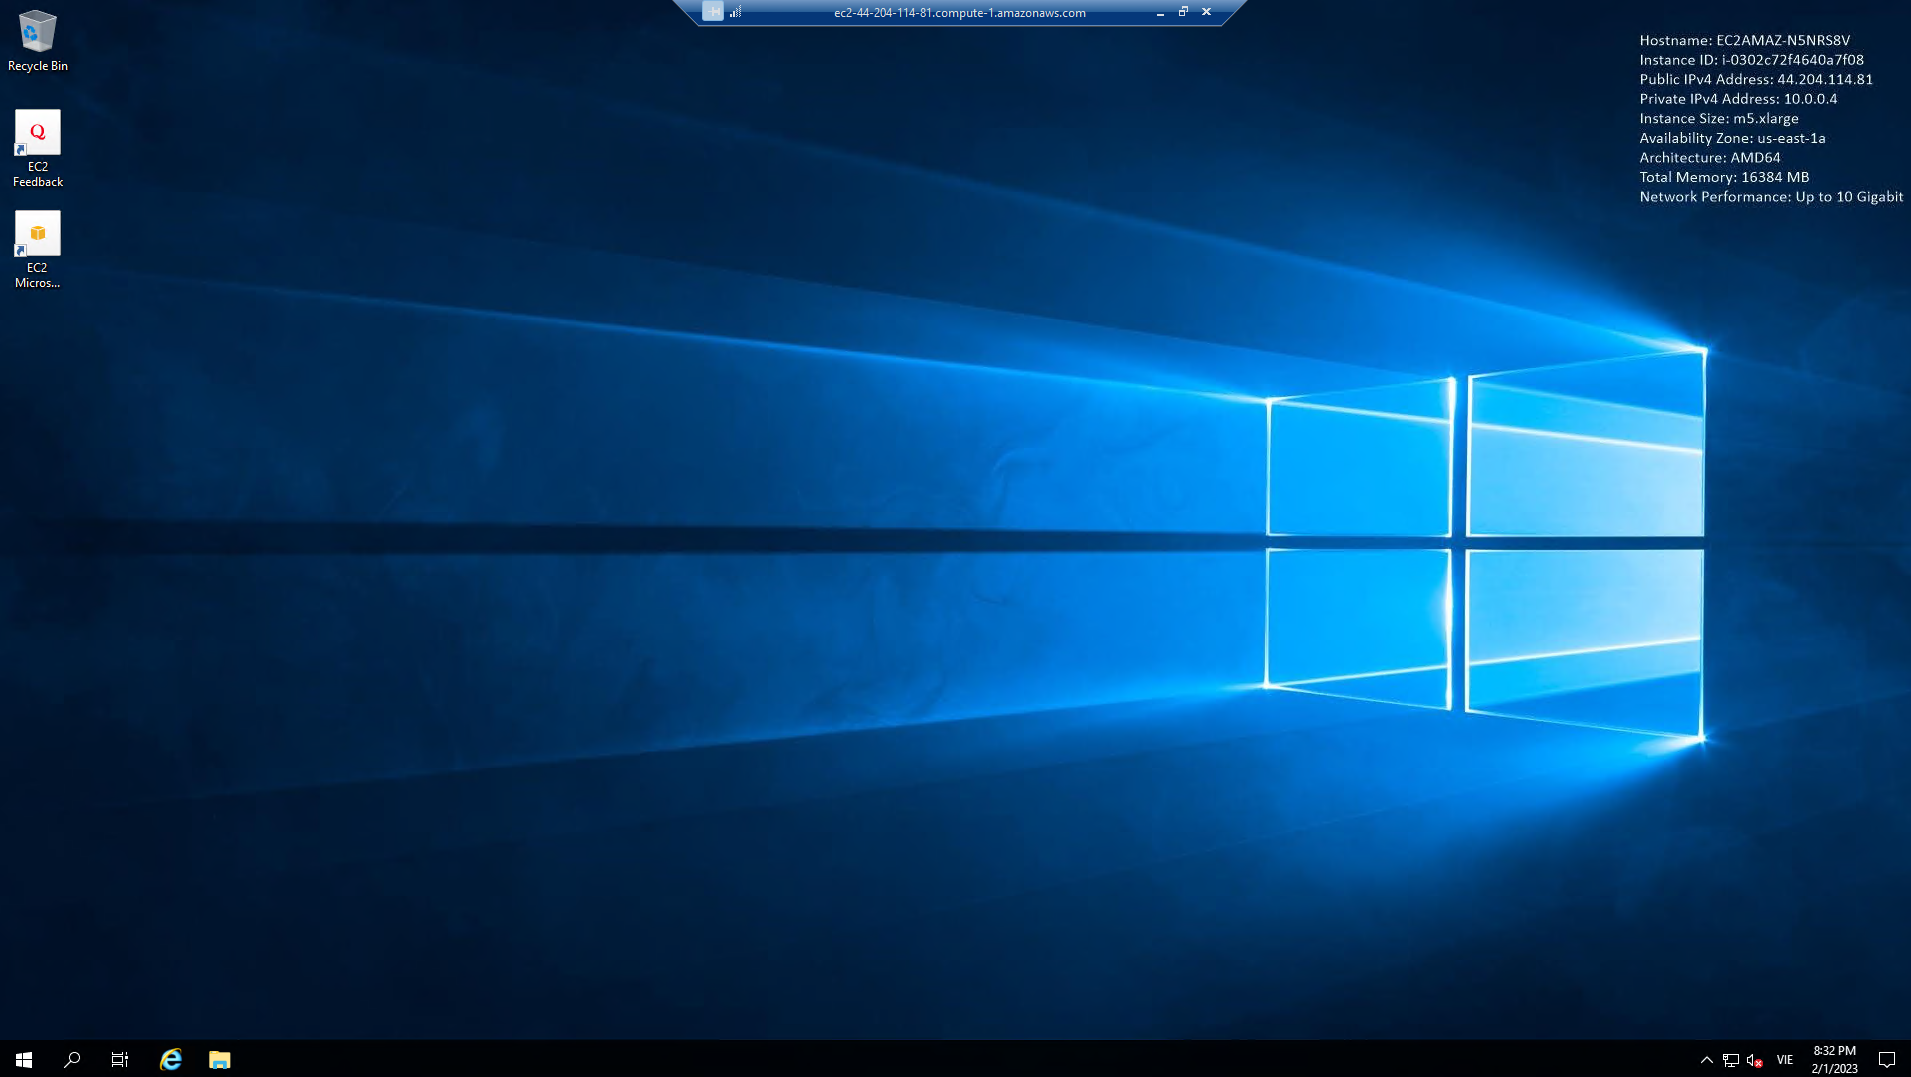
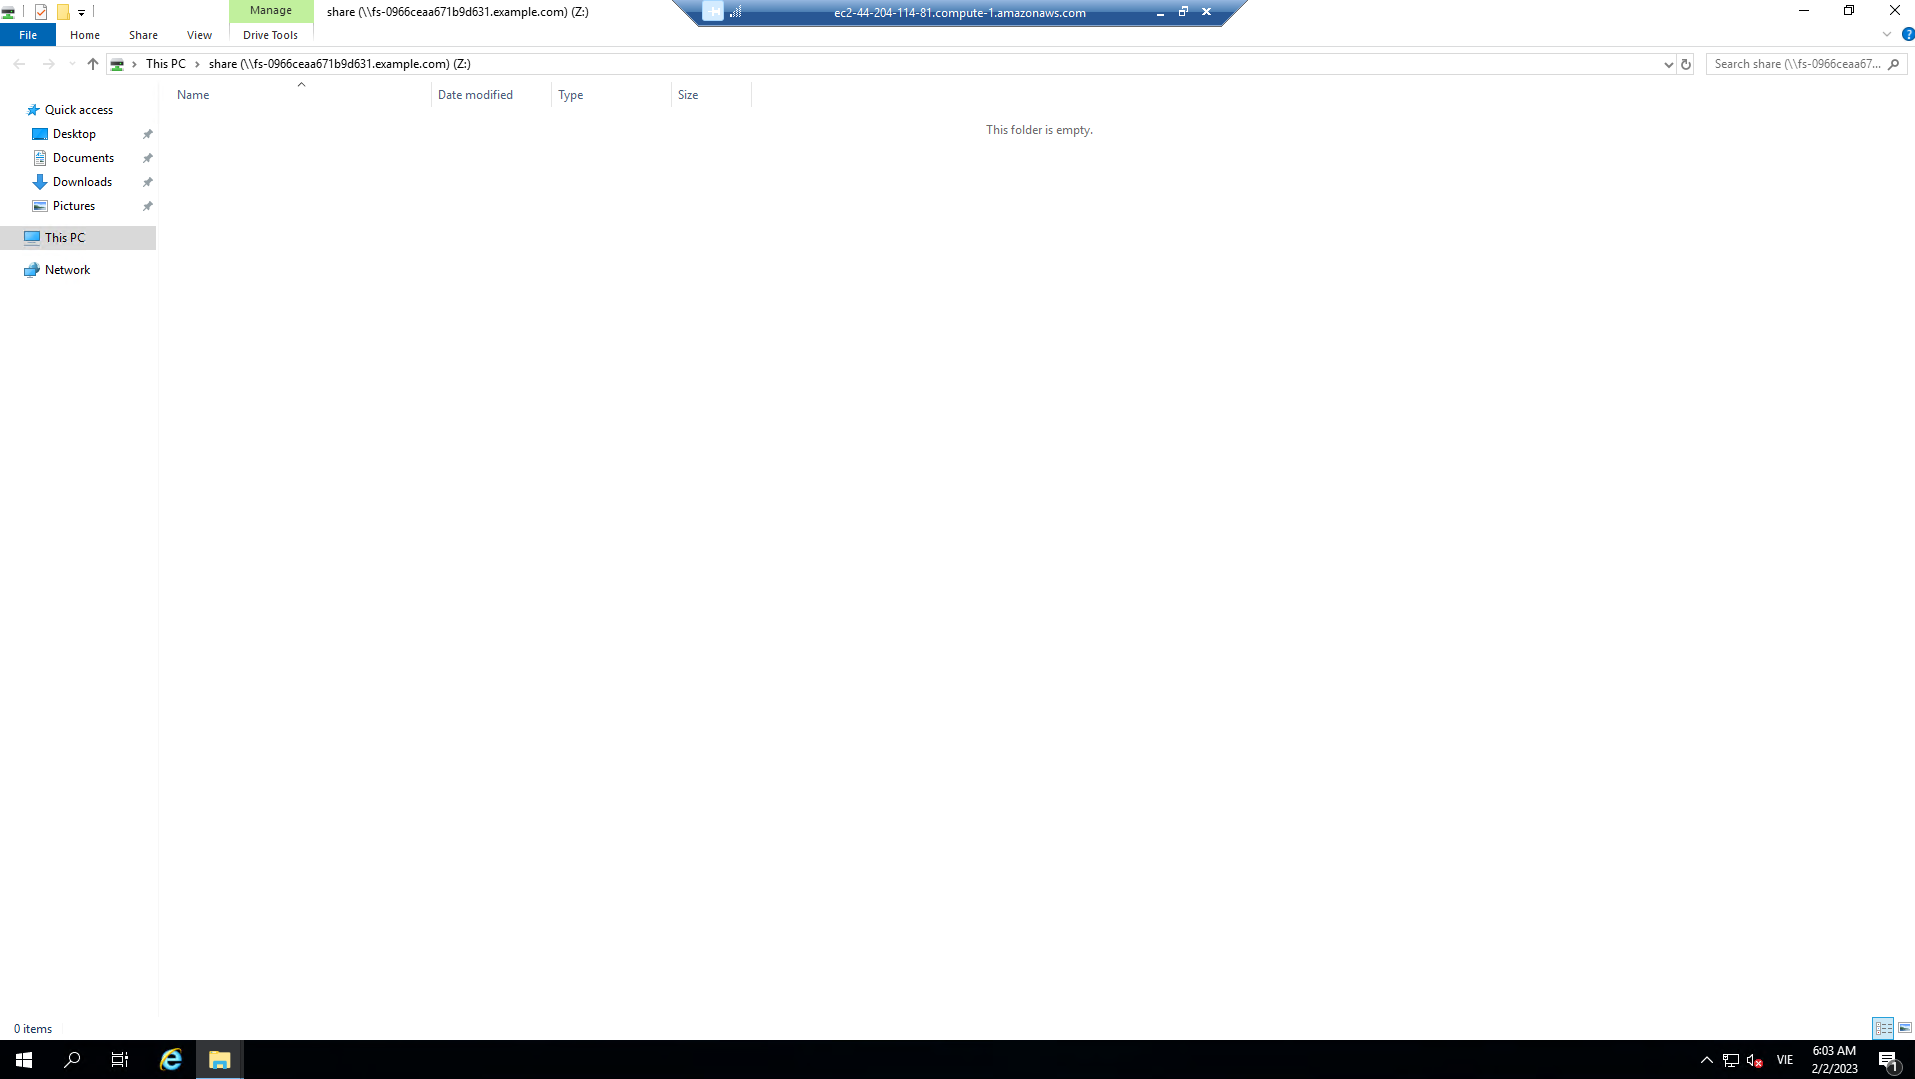
- Once you’ve logged on to the Windows Instance 0 instance, launch File Explorer.
-
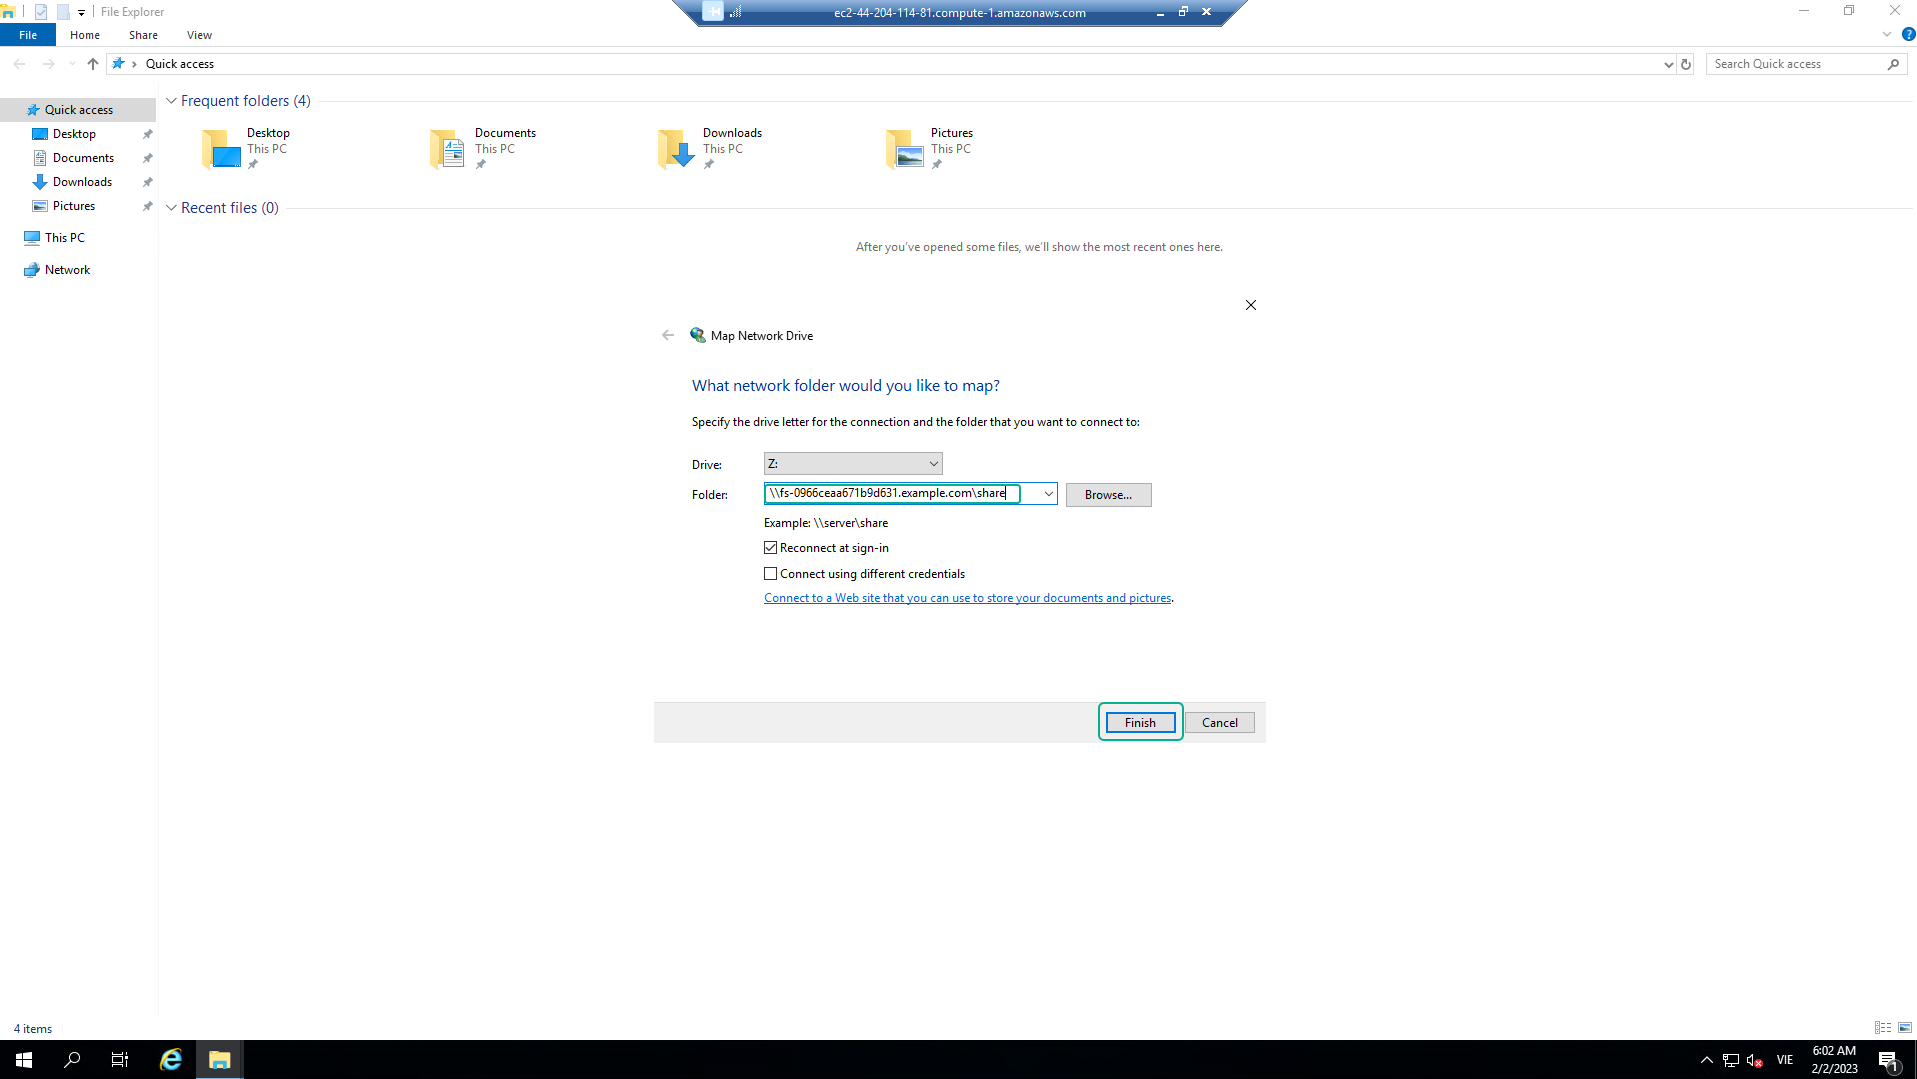
Context-click (right-click) This PC and select Map network drive…
-
Map the file share using the following information:
| Drive | Z: |
| Folder | This is the UNC path of the file system’s default file share. From the Amazon FSx console, click the link to the STG326 - SAZ file system and select the Network & security tab. Copy the DNS Name of the file system to the clipboard and paste it as the first part of the UNC path. Add \share to the end of the DNS Name to complete the UNC path to the file system’s default file share (e.g. \fs-0123456789abcdef.example.com\share). |
| Reconnect at sign-in | Leave checked |
| Connect using different credentials | Leave unchecked |
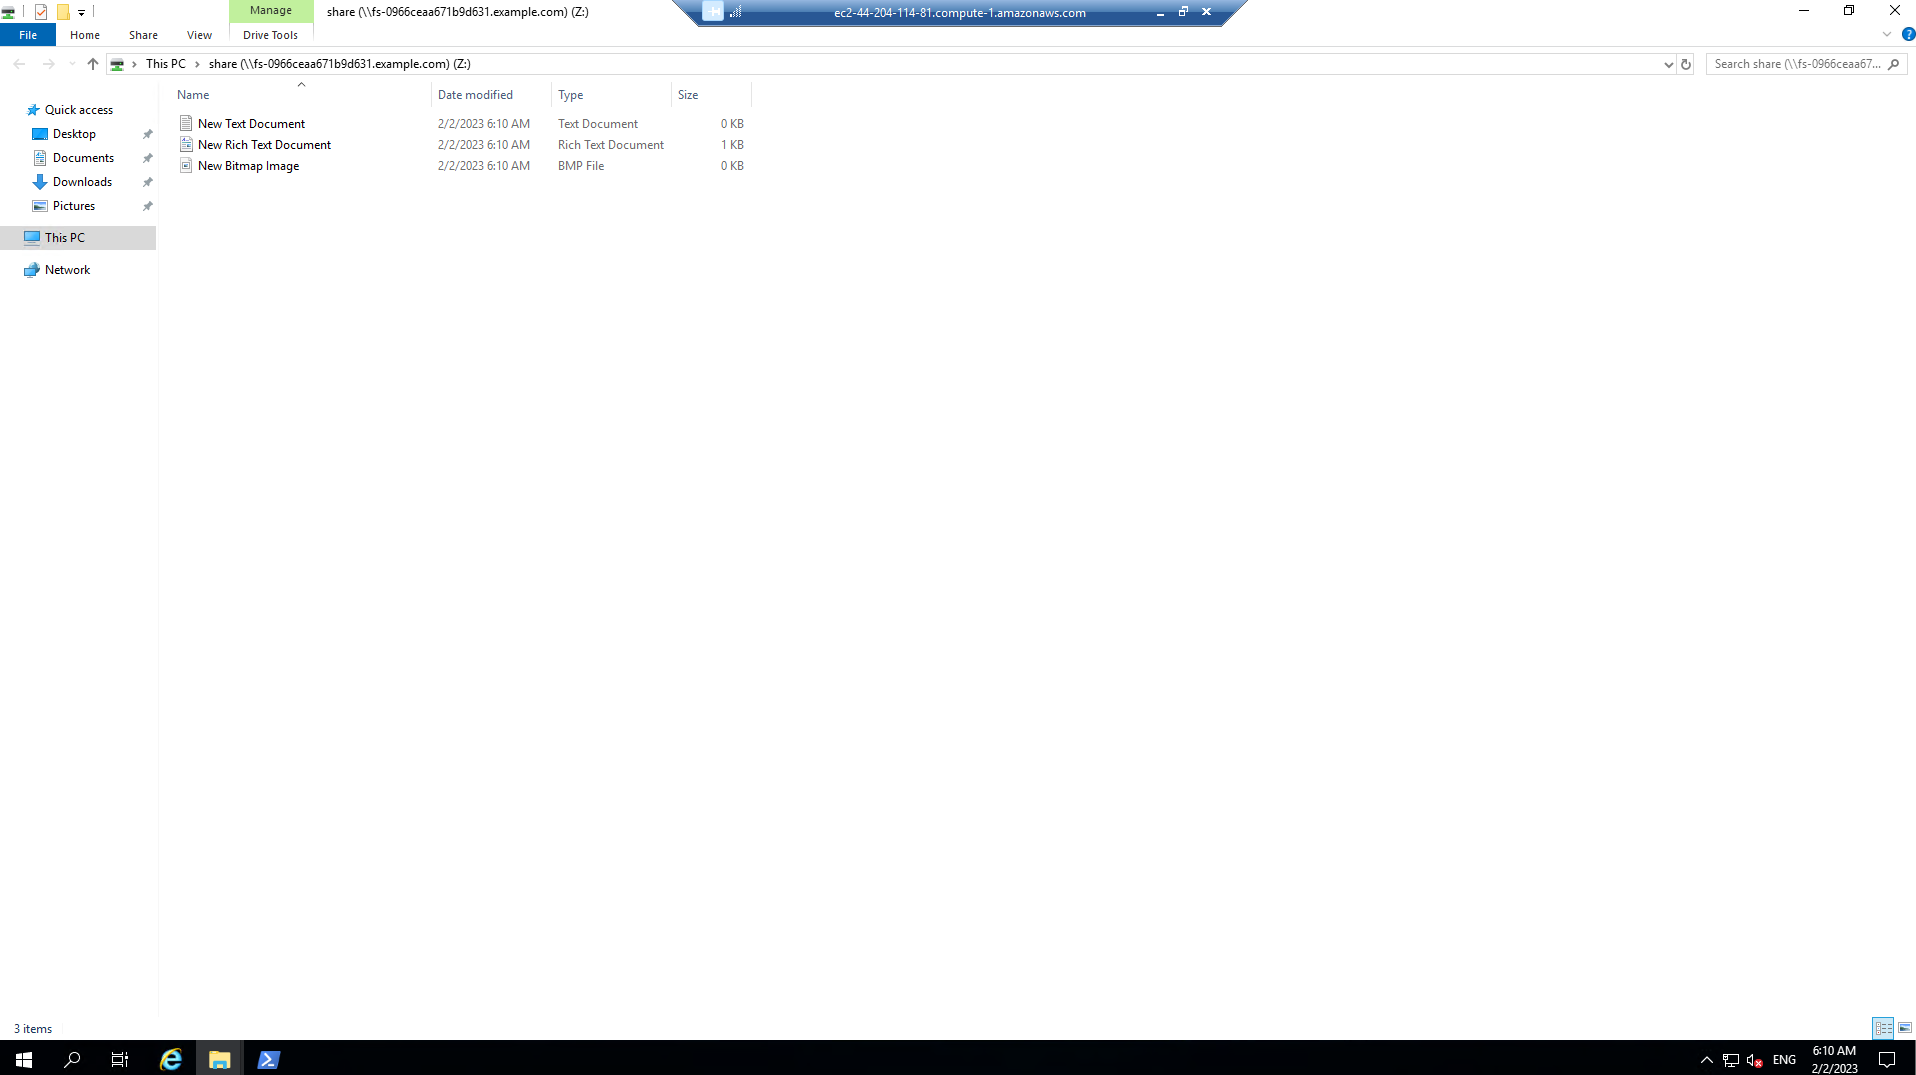
- In the File Explorer window of the Z: drive, create new test files. Context-click (right-click) >> New >> Text Document. Create a few different types of test files.
-
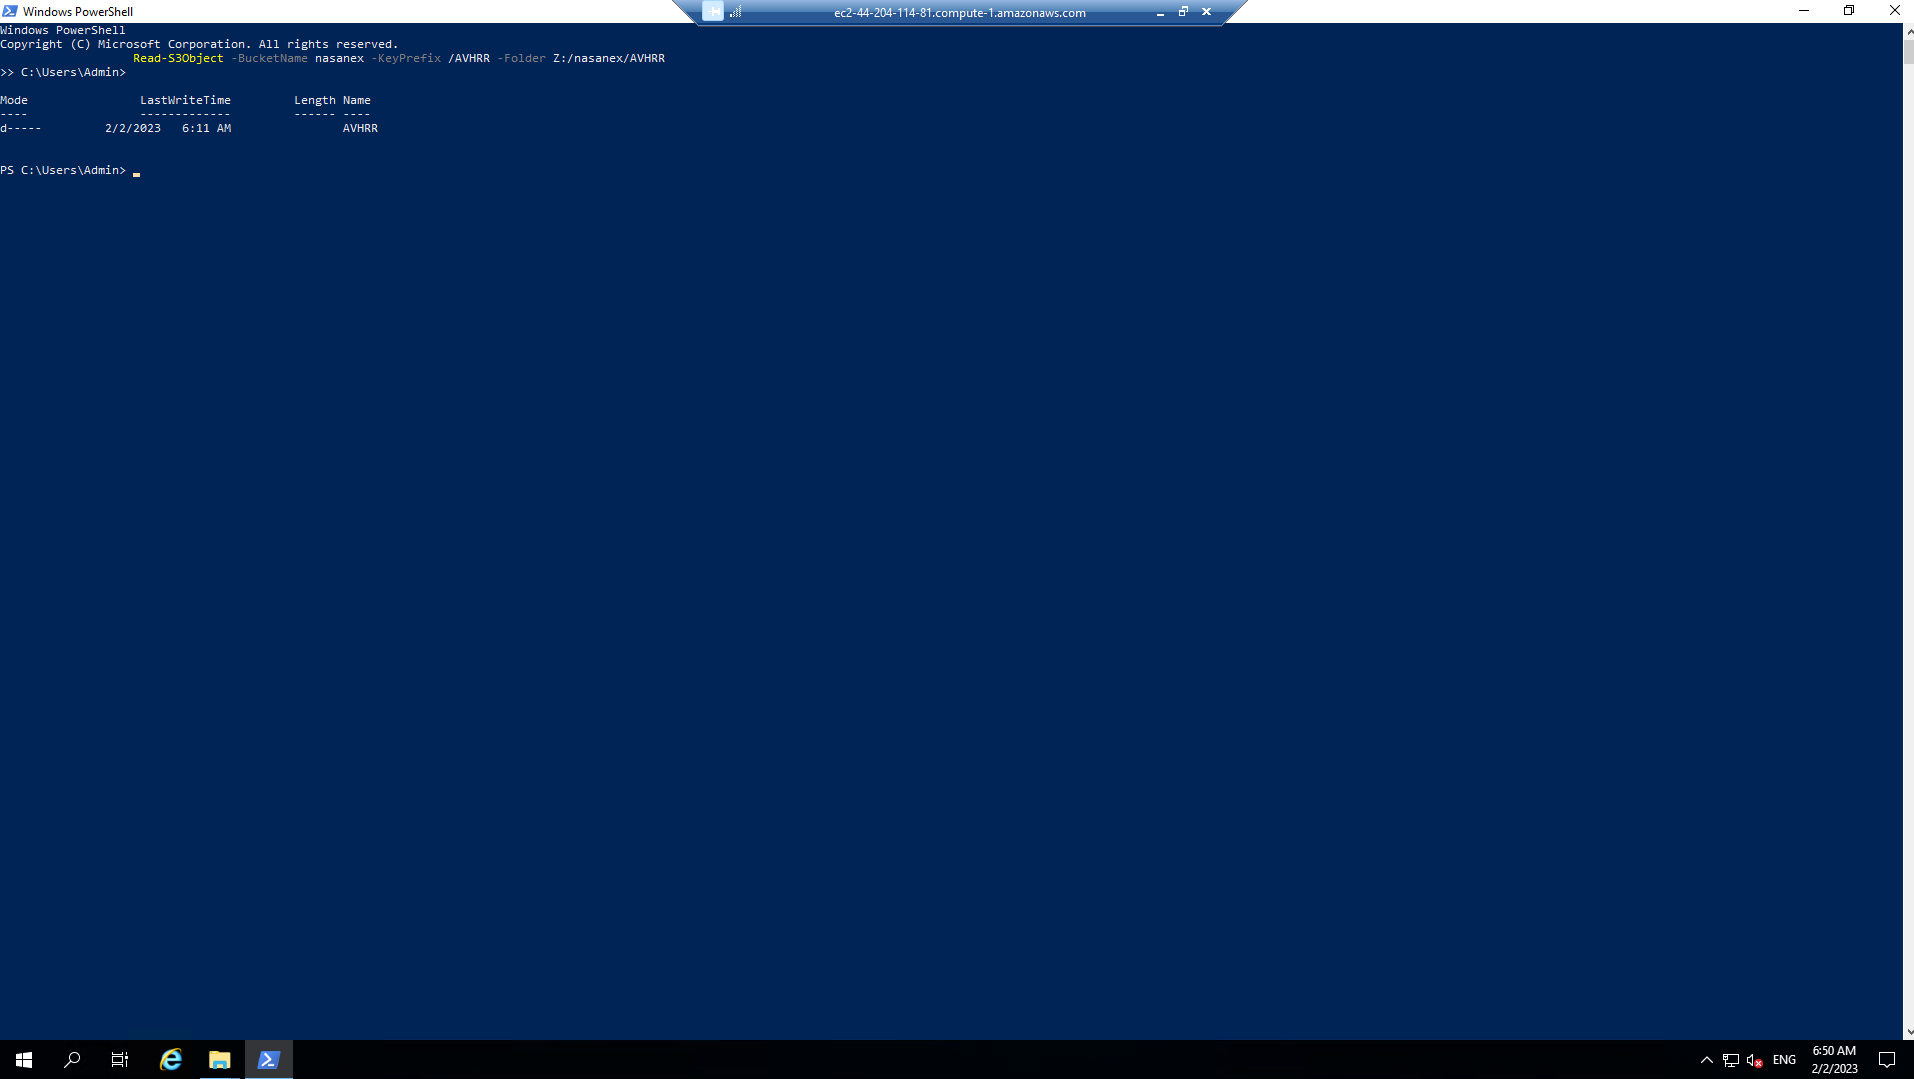
Load sample data into the file system’s default file share from the NASA NEX project hosted on the registry of Open Data on AWS.
-
Go to the remote desktop session for your Windows Instance 0.
-
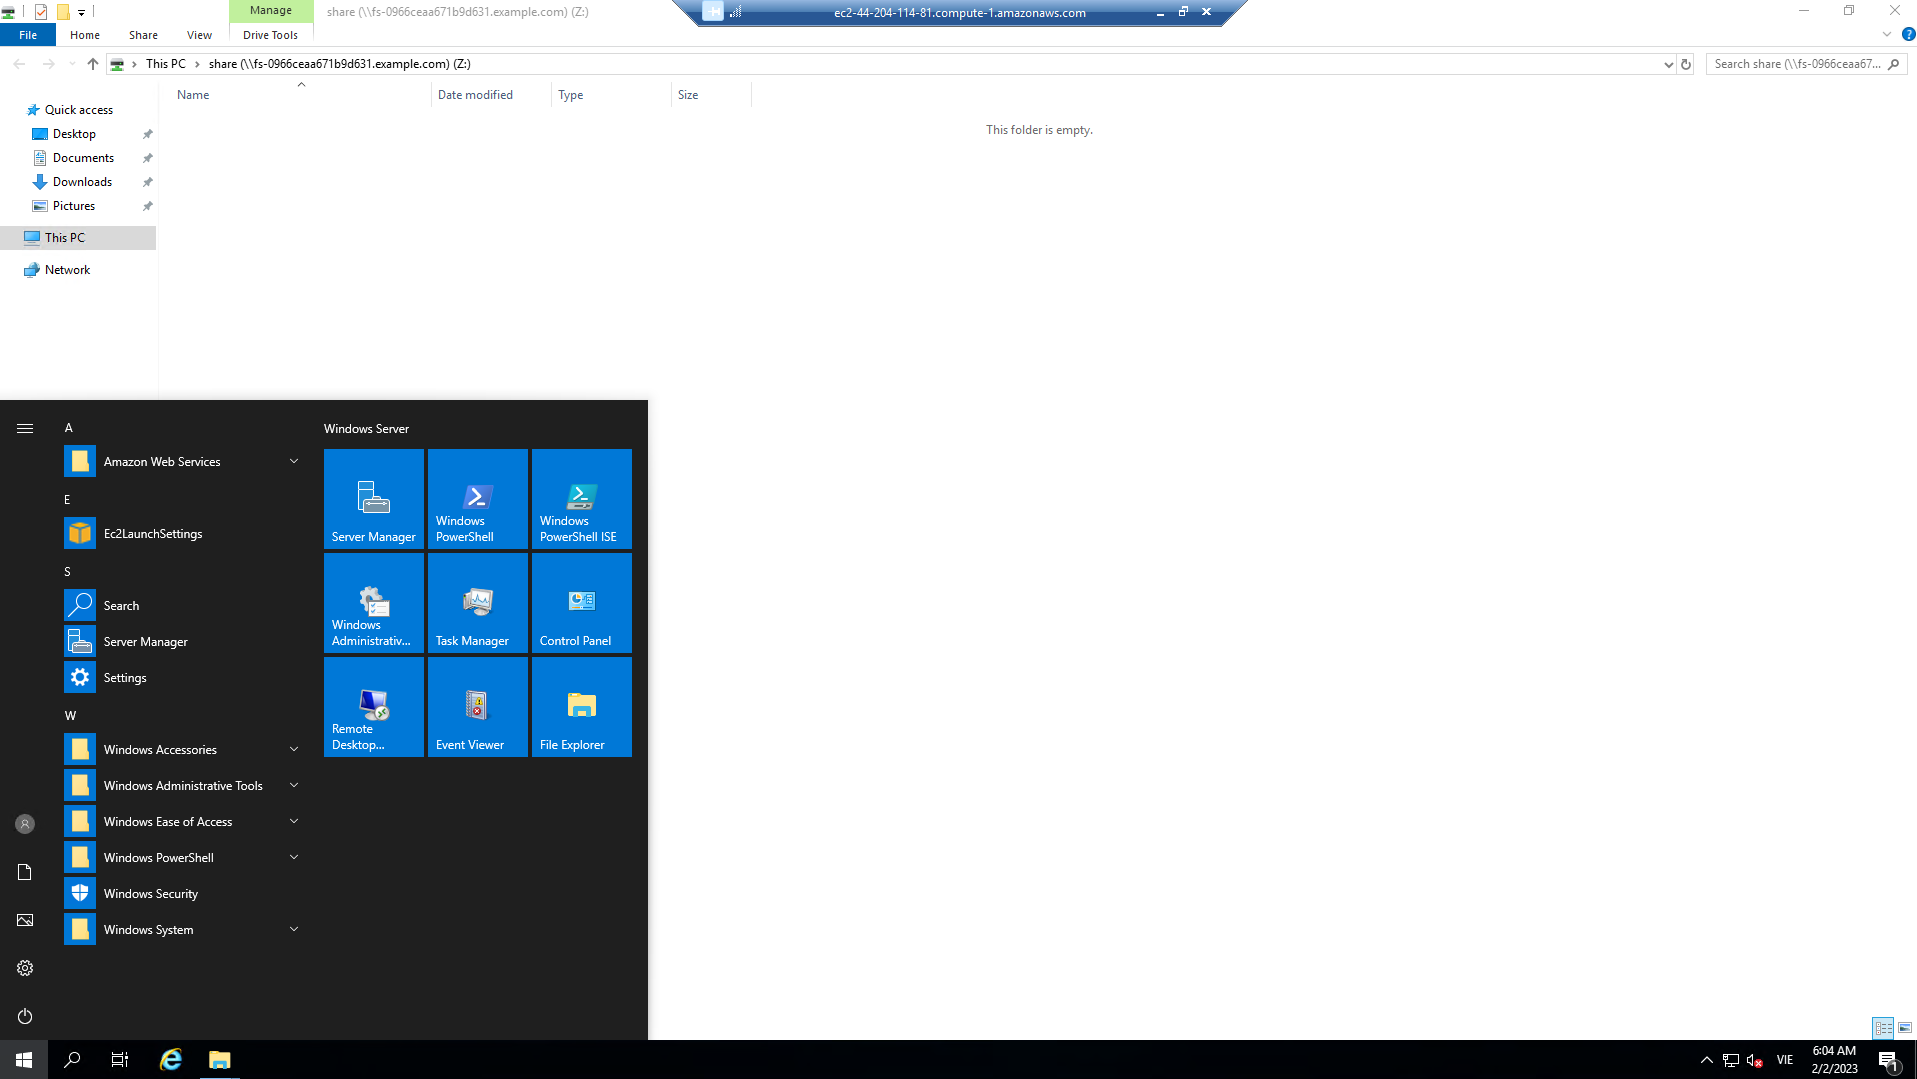
Click Start >> Windows PowerShell.
-
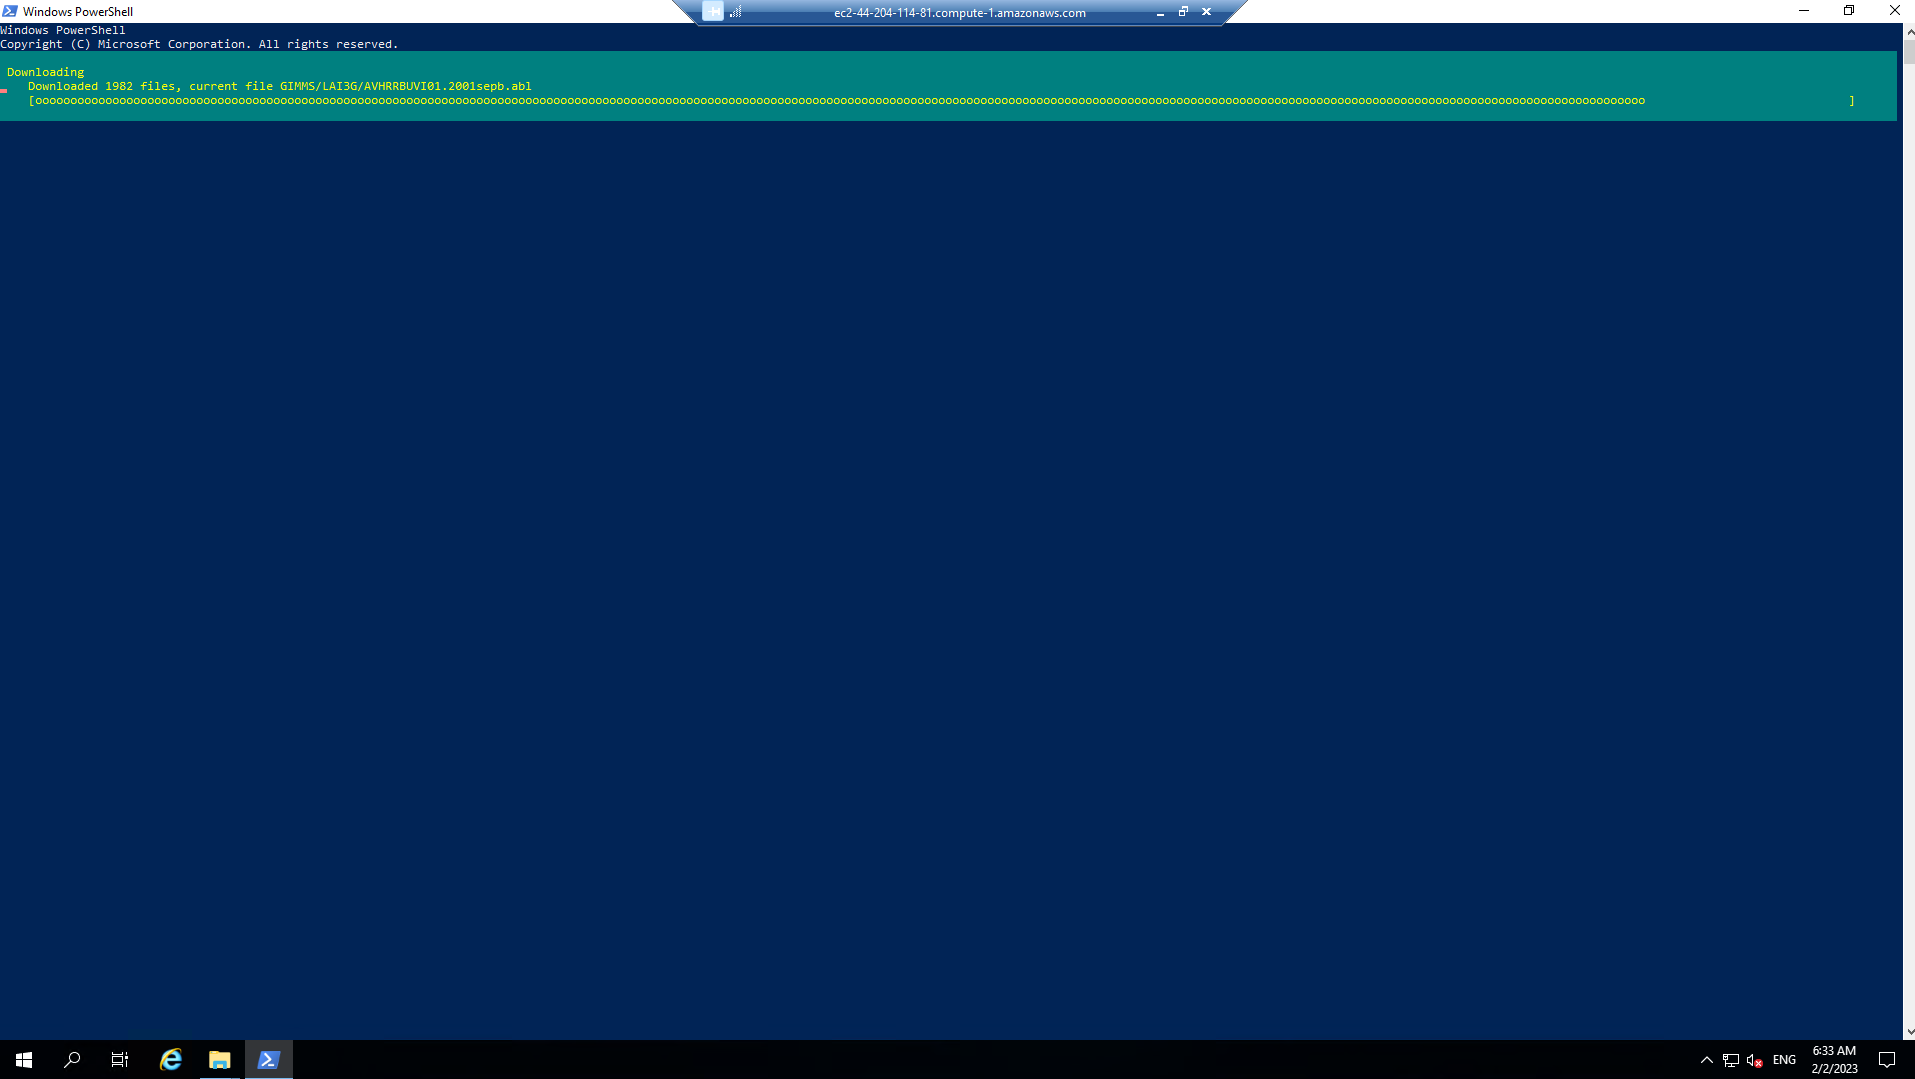
Run the script in the Windows PowerShell window.
Read-S3Object -BucketName nasanex -KeyPrefix /AVHRR -Folder Z:/nasanex/AVHRRNote
It will take approximately 20 minutes to load this sample data. Continue with the next section while the data is loaded in the background.
-
Create new file shares
Important
Read through all steps below and watch the quick video before continuing.
-
From the Amazon FSx console, click the link to the STG326 - SAZ file system and select the Network & security tab. Copy the DNS Name of the file system to the clipboard.
-
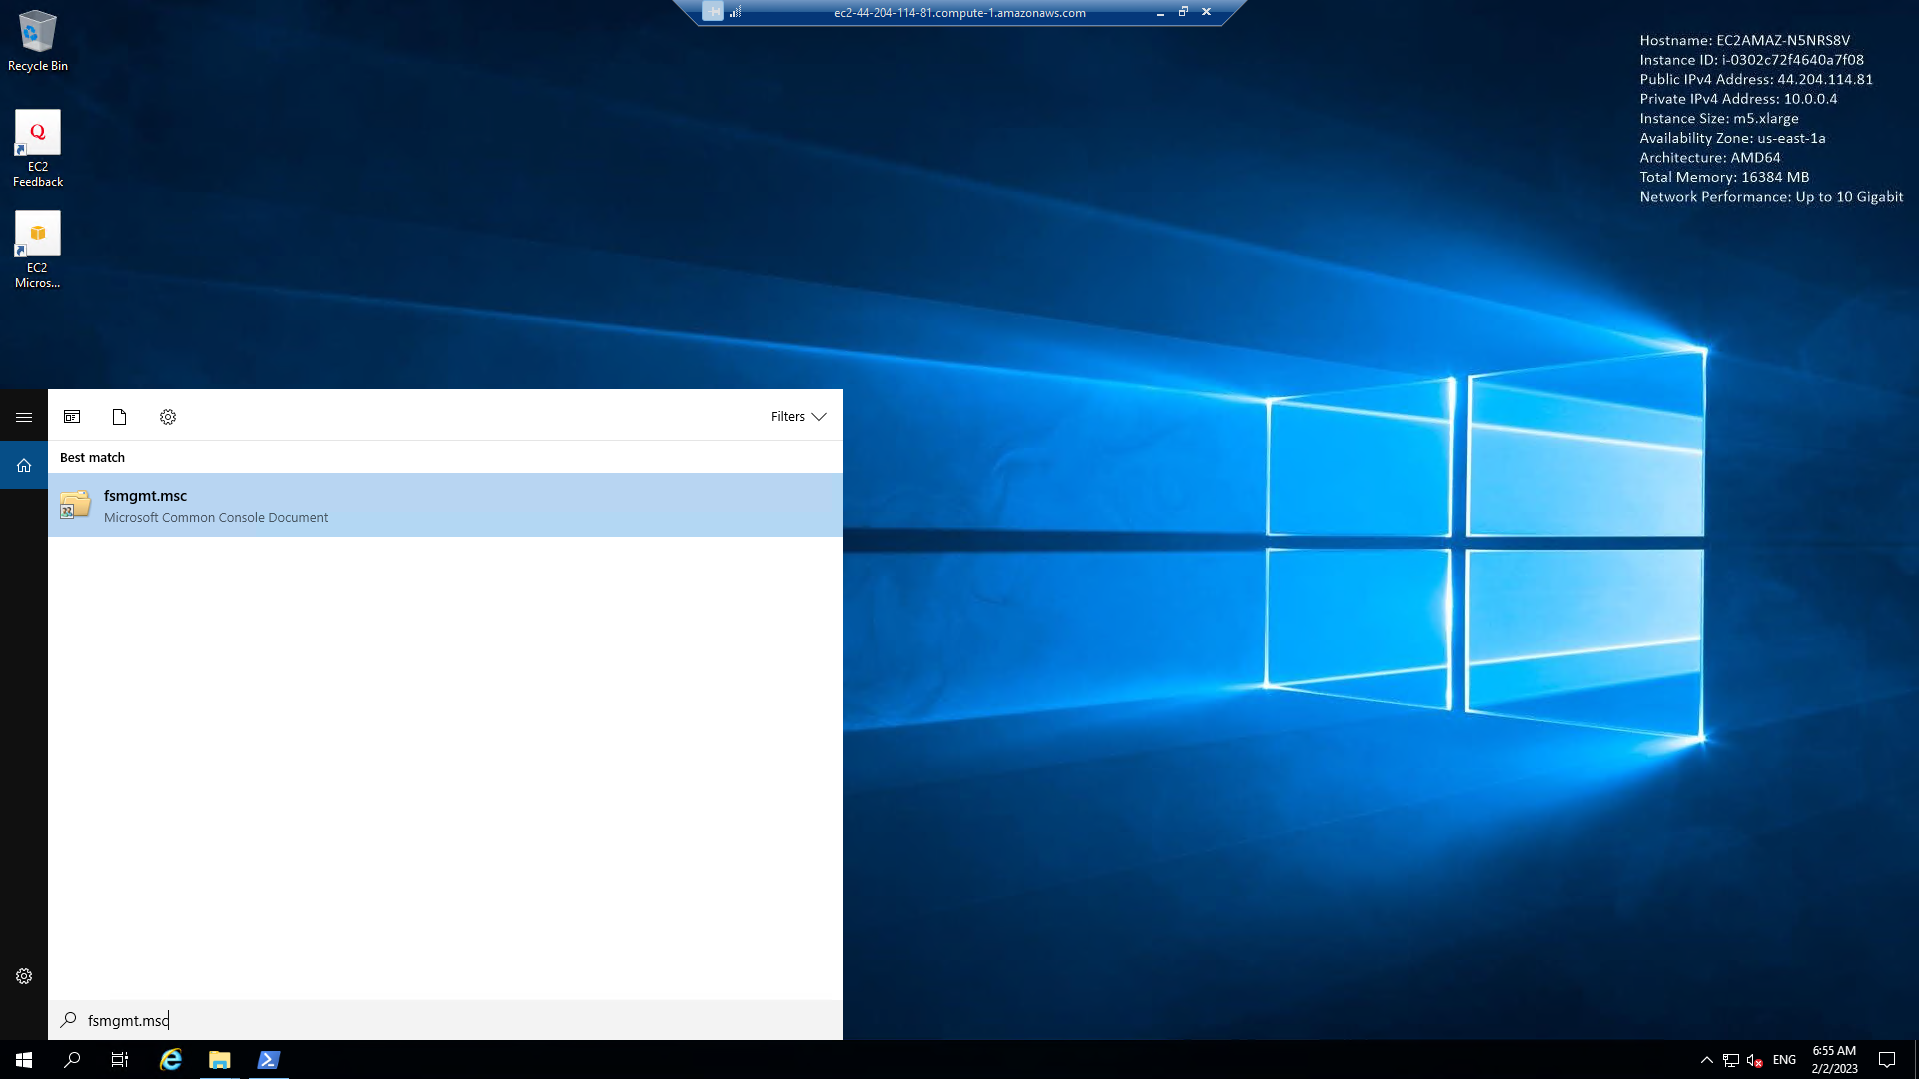
Click Start.
-
Type fsmgmt.msc.
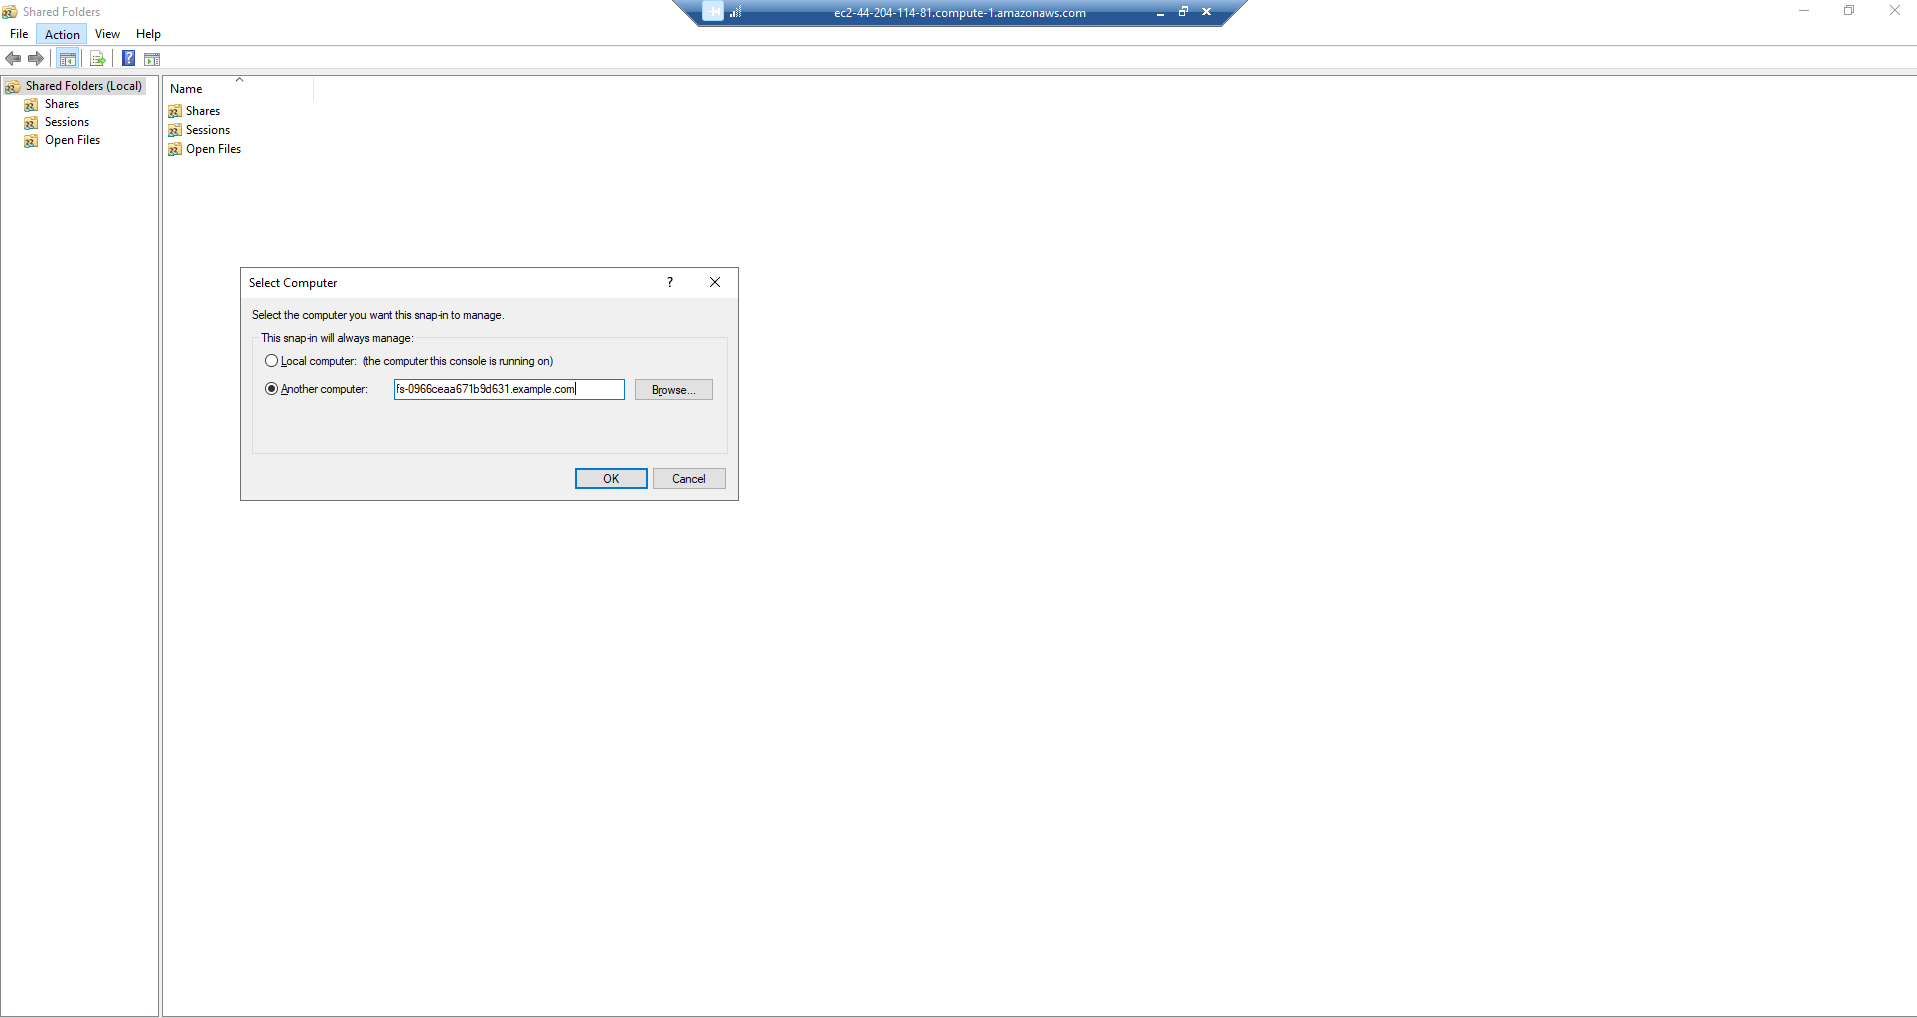
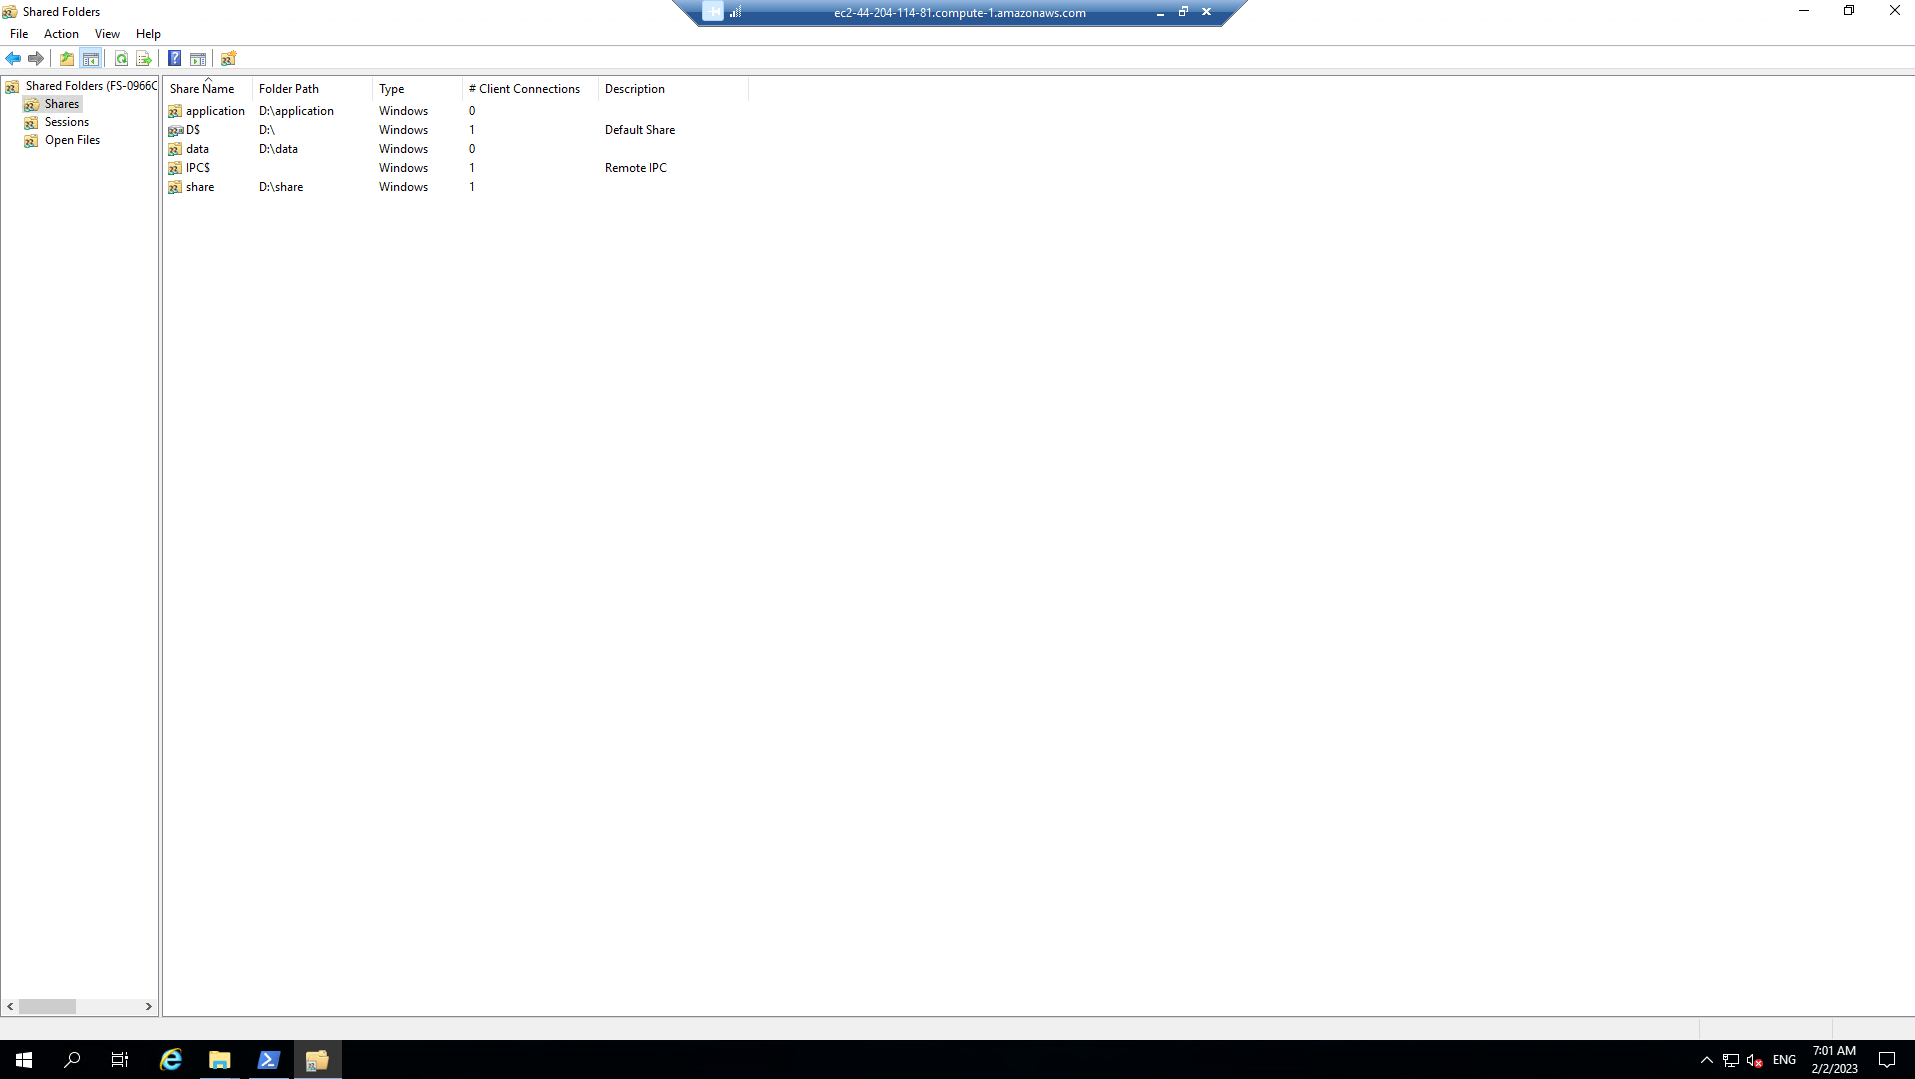
- From the Shared Folders Console, select Action >> Connect to another computer….
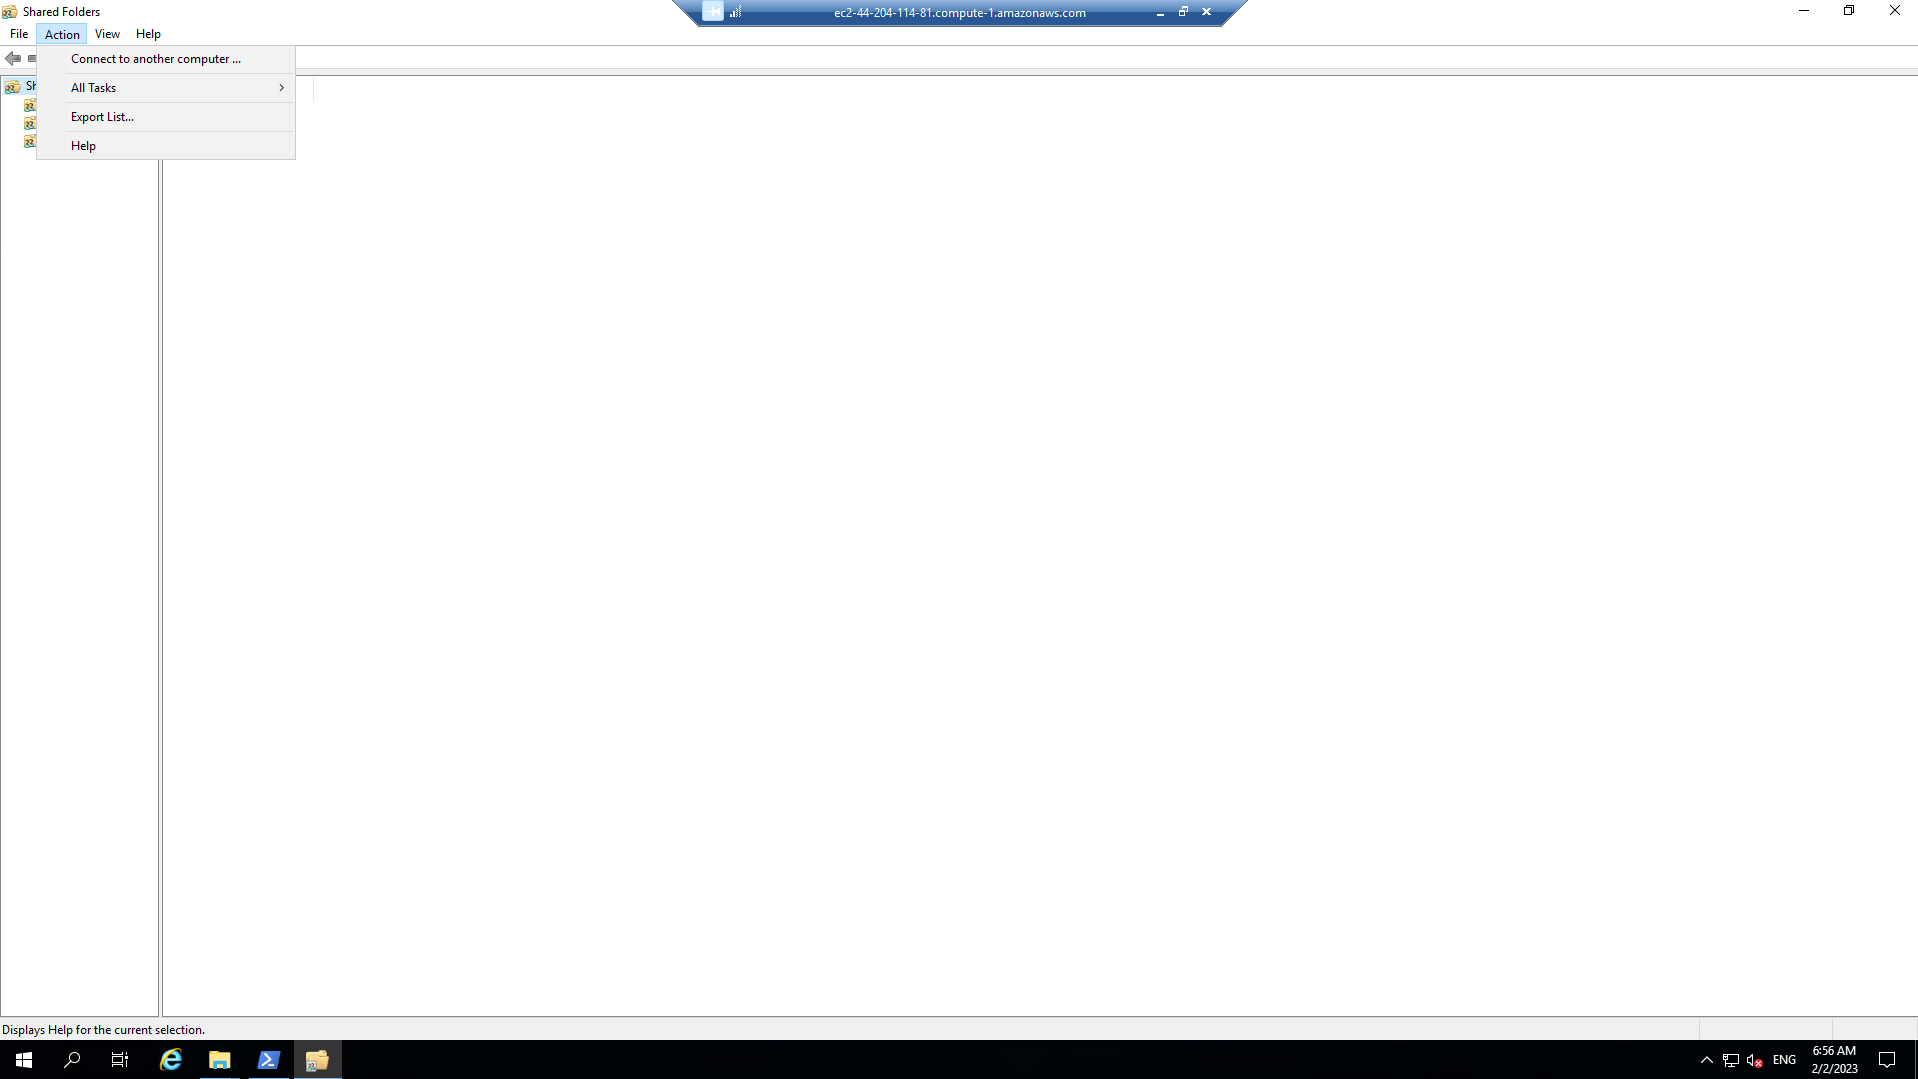
- Paste the DNS Name copied above in the Another computer: text box and click Ok.

- Double-click the Shares folder.
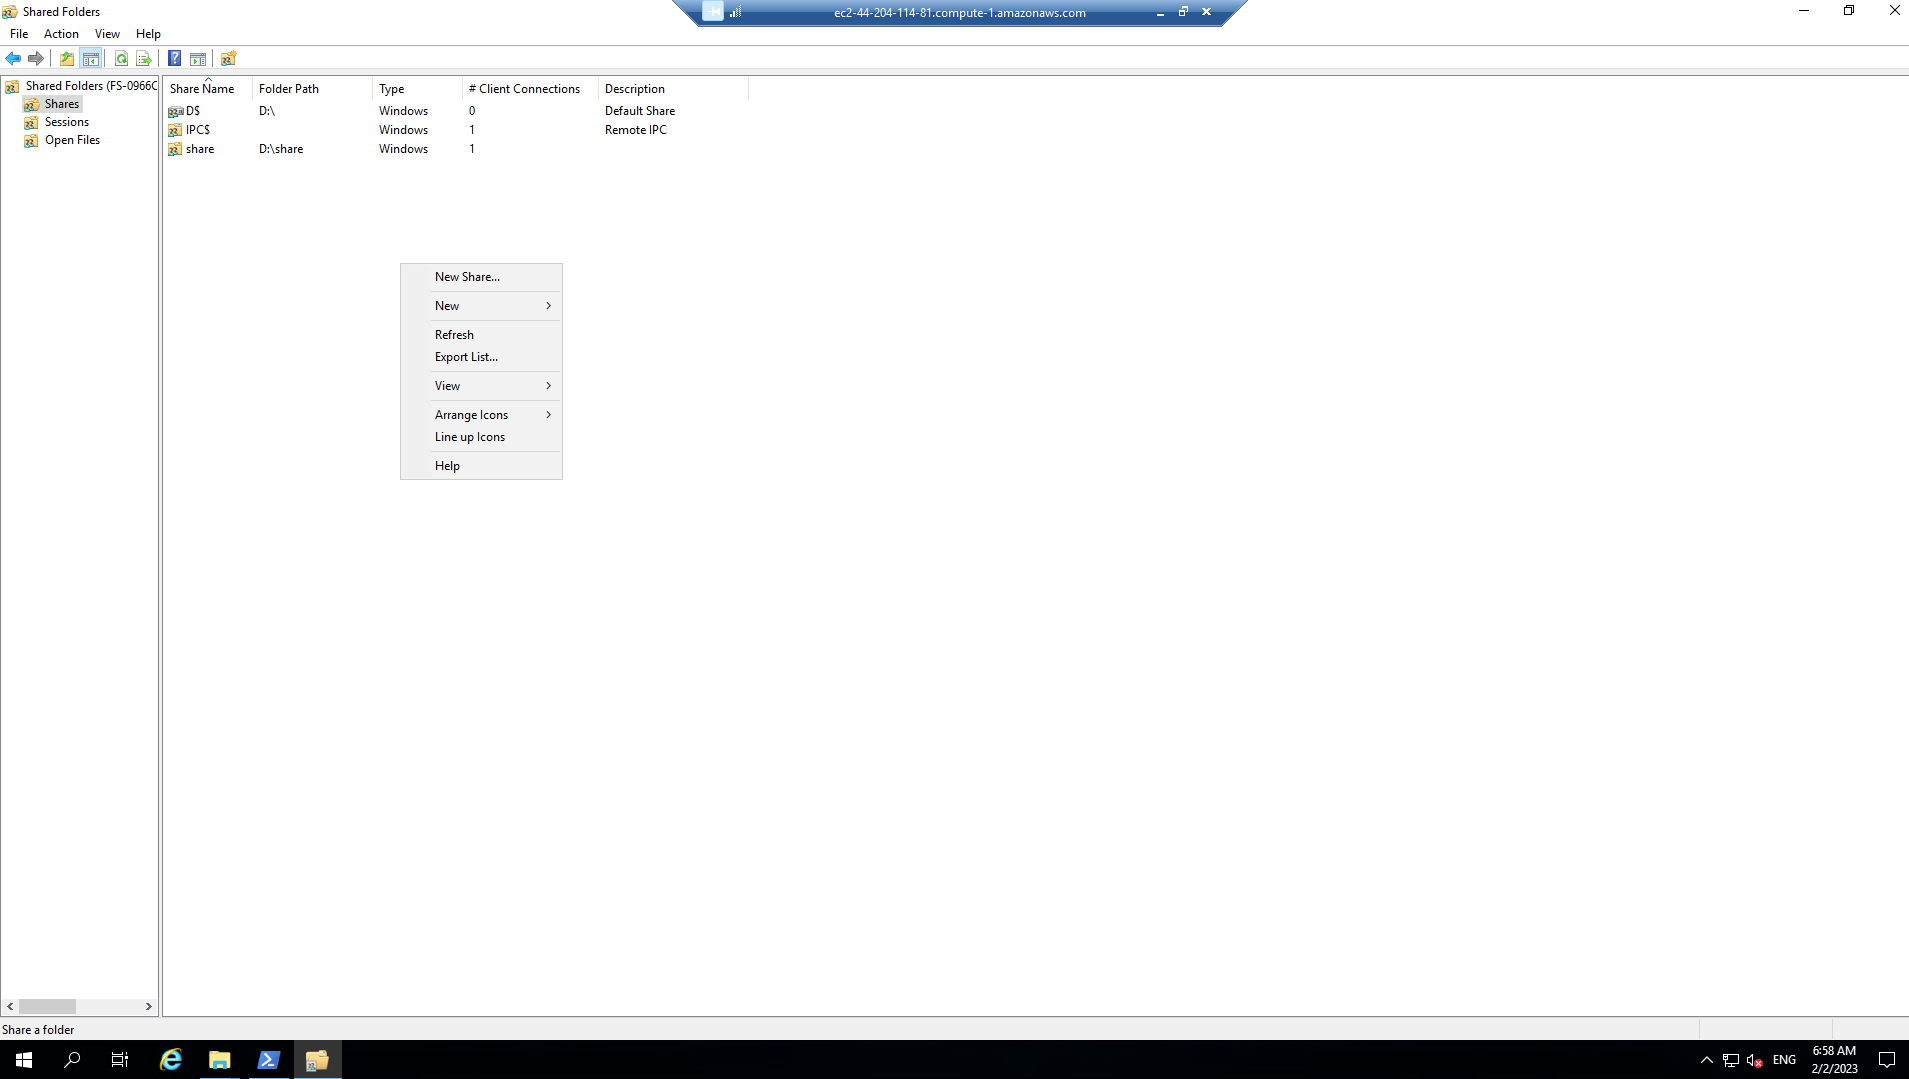
- With the Shares folder selected, click Action >> New Share… from the menu.

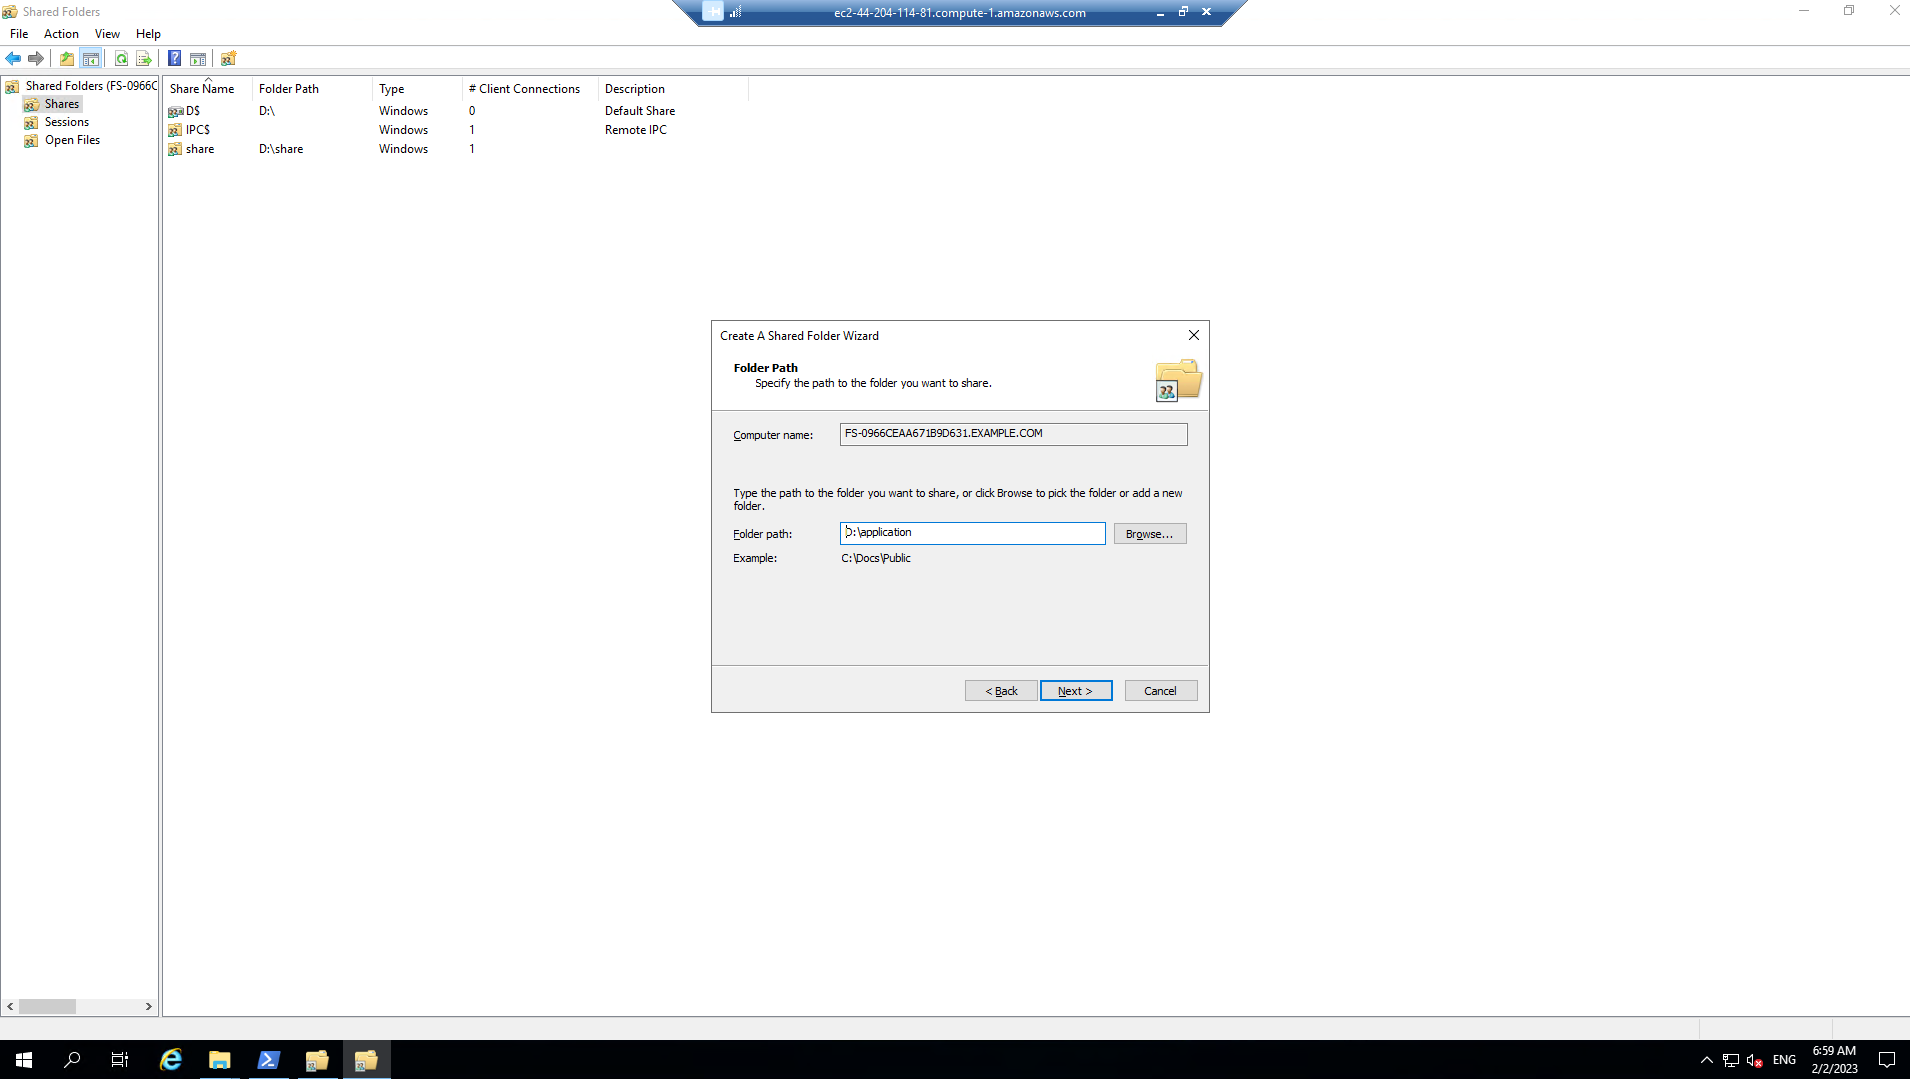
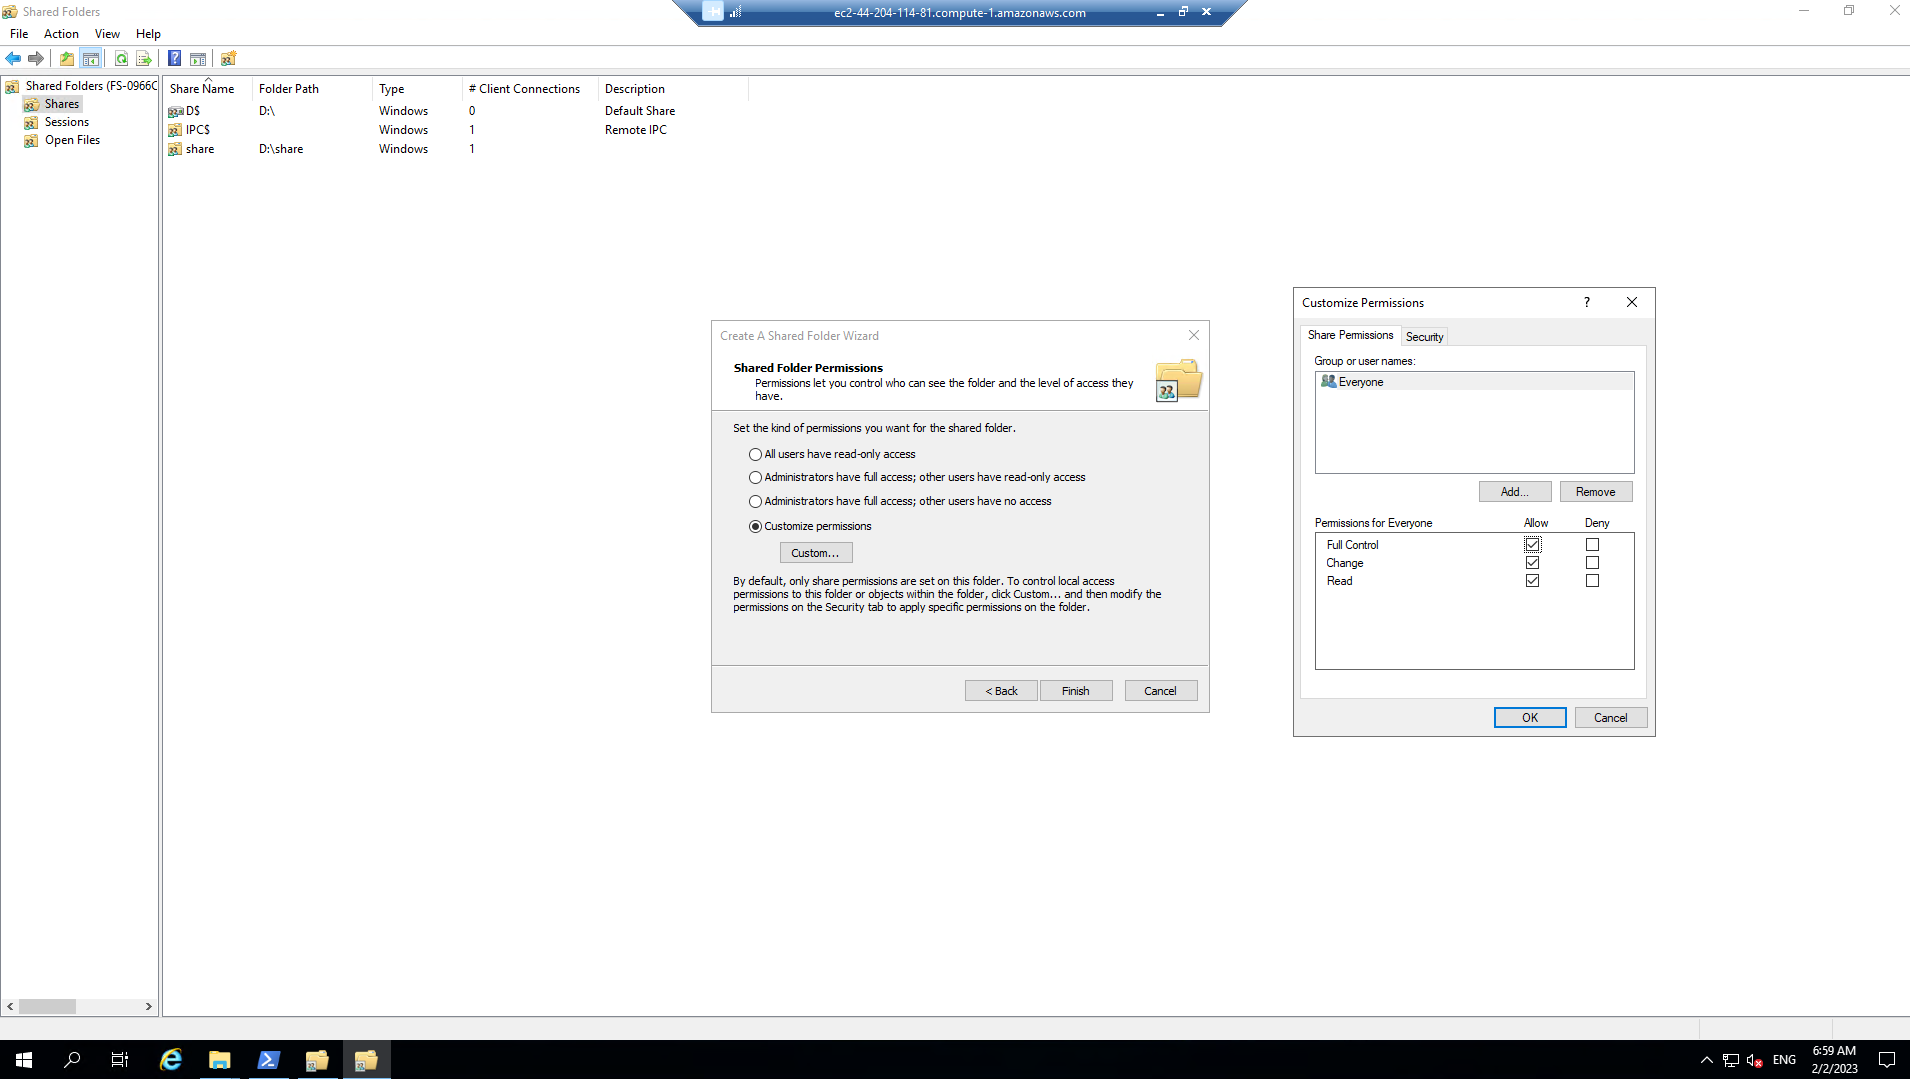
- Complete the Create A Shared Folder Wizard, creating new shares
with the following
attributes:
Folder path Share name Create new path Shared folder permissions D:\application application Yes Customize permissions >> Everyone Full Control D:\data data Yes Customize permissions >> Everyone Full Control
- Experiment and create other file shares. All shares must be created on the D:\ drive.
Manage file shares
Important
Read through all steps below and watch the quick video before continuing.
-
Copy the script below into your favorite text editor.
$WindowsRemotePowerShellEndpoint = "windows_remote_powershell_endpoint" # e.g. "fs-0123456789abcdef.example.com"
enter-pssession -ComputerName ${WindowsRemotePowerShellEndpoint} -ConfigurationName FsxRemoteAdmin

-
From the Amazon FSx console, click the link to the STG326 - SAZ file system and select the Network & security tab. Copy the Windows Remote PowerShell Endpoint of the file system to the clipboard (e.g. fs-0123456789abcdef.example.com).
-
Return to your favorite text editor and replace “windows_remote_powershell_endpoint” with the Windows Remote PowerShell Endpoint of STG326 - SAZ. Copy the updated script.
-
Go to the remote desktop session for your Windows Instance 0.
-
Click Start >> Windows PowerShell.
-
Run the updated script in the Windows PowerShell window.
-
Complete the next few steps using the remote PowerShell session to the FSx file server.
-
Review the PowerShell function commands available using the Amazon FSx CLI for remote management on PowerShell.
-
Run the command in the Remote Windows PowerShell Session.
Get-Command
-
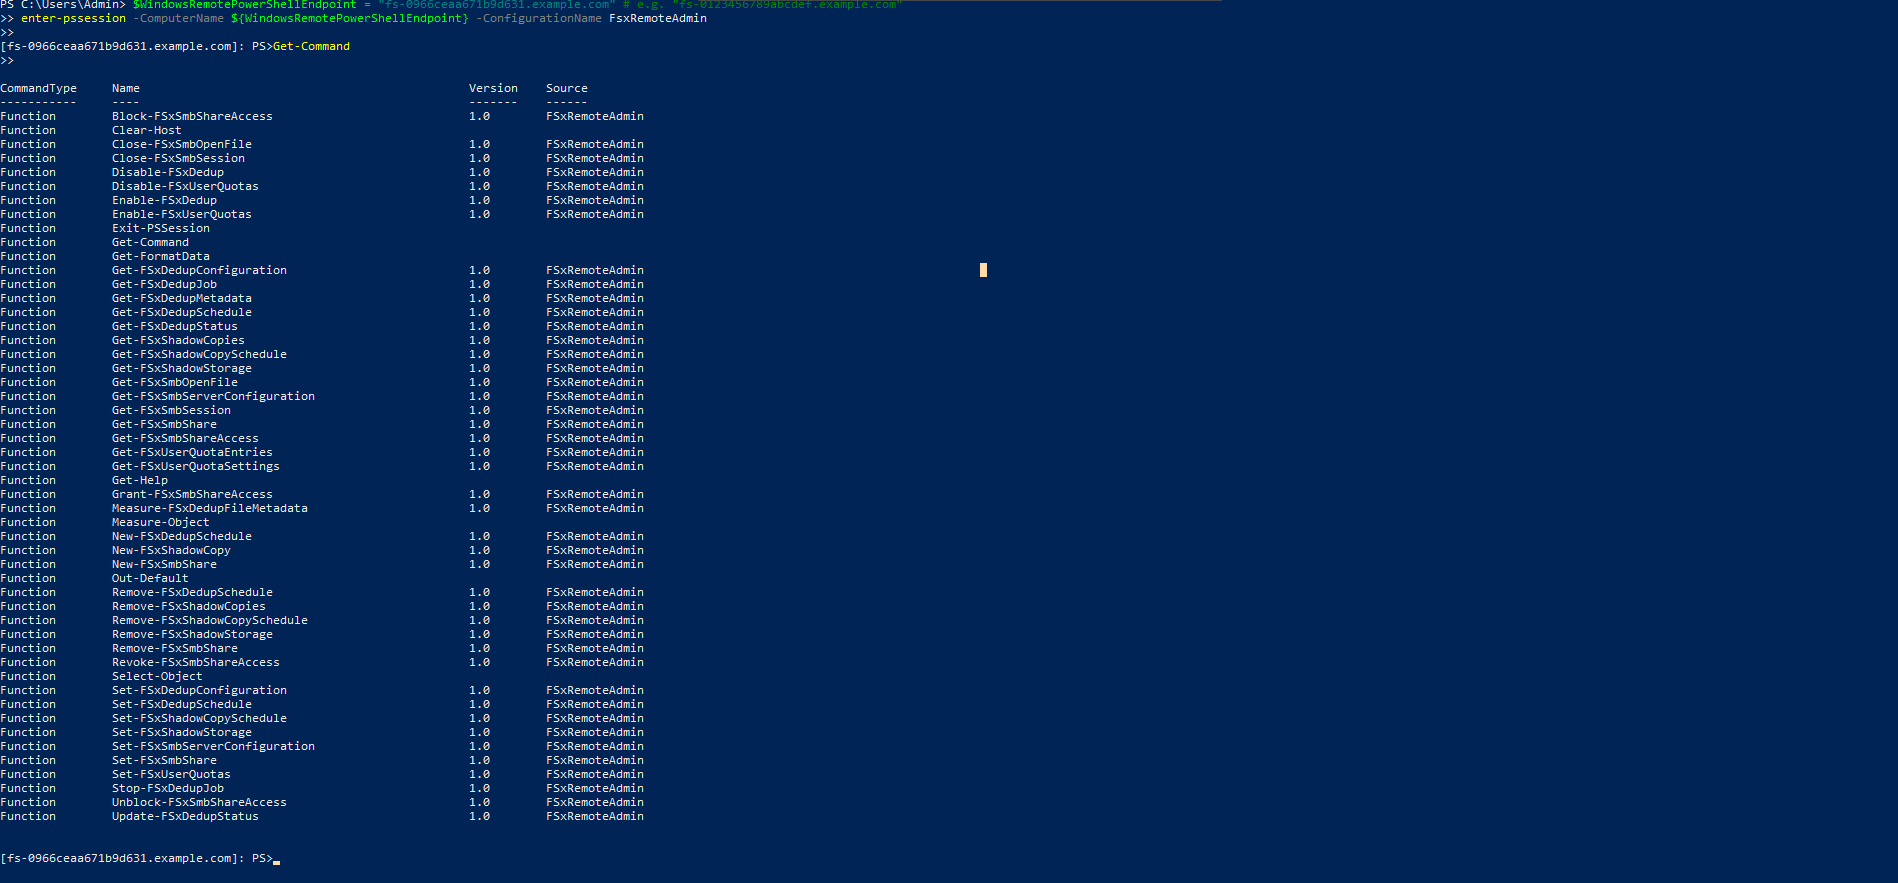
-
What commands are available?
-
Review all the different commands available using the Amazon FSx CLI for remote management on PowerShell.
-
Examine your file system using the commands in the table below.
- Run the commands in the remote PowerShell
session.
Command Get-FSxSmbShare Get-FSxSmbSession Get-FSxSmbServerConfiguration Get-FSxSmbShareAccess (when prompted, enter these share names: application, data, share)
- Run the commands in the remote PowerShell
session.
-
End the remote PowerShell session. Run Exit-PSSession.
-
Close the PowerShell window. Run exit.
-
Close the Shared Folders Console.