Enable shadow copies
Enable shadow copies
This section will enable shadow copies for the entire file system.
Note
It will take approximately 15 minutes to complete this section.
Important
Read through all steps below and watch the quick video before continuing.

-
Copy the script below into your favorite text editor.
$WindowsRemotePowerShellEndpoint = "windows_remote_powershell_endpoint" # e.g. "fs-0123456789abcdef.example.com" enter-pssession -ComputerName ${WindowsRemotePowerShellEndpoint} -ConfigurationName FsxRemoteAdmin -
From the Amazon FSx console, click the link to the STG326 - SAZ file system and select the Network & security tab. Copy the Windows Remote PowerShell Endpoint of the file system to the clipboard (e.g. fs-0123456789abcdef.example.com).
-
Return to your favorite text editor and replace “windows_remote_powershell_endpoint” with the Windows Remote PowerShell Endpoint of STG326 - SAZ. Copy the updated script.
-
Go to the remote desktop session for your Windows Instance 0.
-
Click Start >> Windows PowerShell.
-
Run the updated script in the Windows PowerShell window.
NOTE: Complete the next few steps using the remote PowerShell session to the FSx file server.
-
Review the PowerShell function commands for shadow copies available using the Amazon FSx CLI for remote management on PowerShell.
- Run the script in the Remote Windows PowerShell Session.
Get-Command *-FSxShadow* -
What commands are available?
-
Set shadow copy storage for the entire FSx file system. The default shadow copy storage setting lets shadow copies consume a maximum of 10 percent of your file system. The default schedule automatically takes shadow copies every Monday, Tuesday, Wednesday, Thursday, and Friday, at 7:00 AM and 12:00 PM UTC.
- Run the script in the Remote Windows PowerShell Session. Enter A for Yes to All when prompted to confirm.
Set-FsxShadowStorage -Default Set-FsxShadowCopySchedule -Default -
Examine the default shadow copy configuration using the commands in the table below.
| Command |
| Get-FSxShadowCopies |
| Get-FSxShadowCopySchedule |
| Get-FSxShadowStorage |
-
What’s the default schedule for shadow copies?
-
How much space is allocated, used, and available for shadow copies?
Note
Shadow copies are stored alongside your file system’s data, and therefore consume its storage capacity. However, shadow copies consume storage capacity only for the changed portions of files. All shadow copies stored in your file system are included in backups of your file system. Thus, when you restore a backup, users continue to have previous versions available as of the time that the file system was backed up. For more information on shadow copies, please read the Working with Shadow Copies section in the Amazon FSx for Windows File Server User Guide.
Modify shadow copy storage
Important
Read through all steps below and watch the quick video before continuing.
Note
Complete the next few steps using the remote PowerShell session to the FSx file server.
-
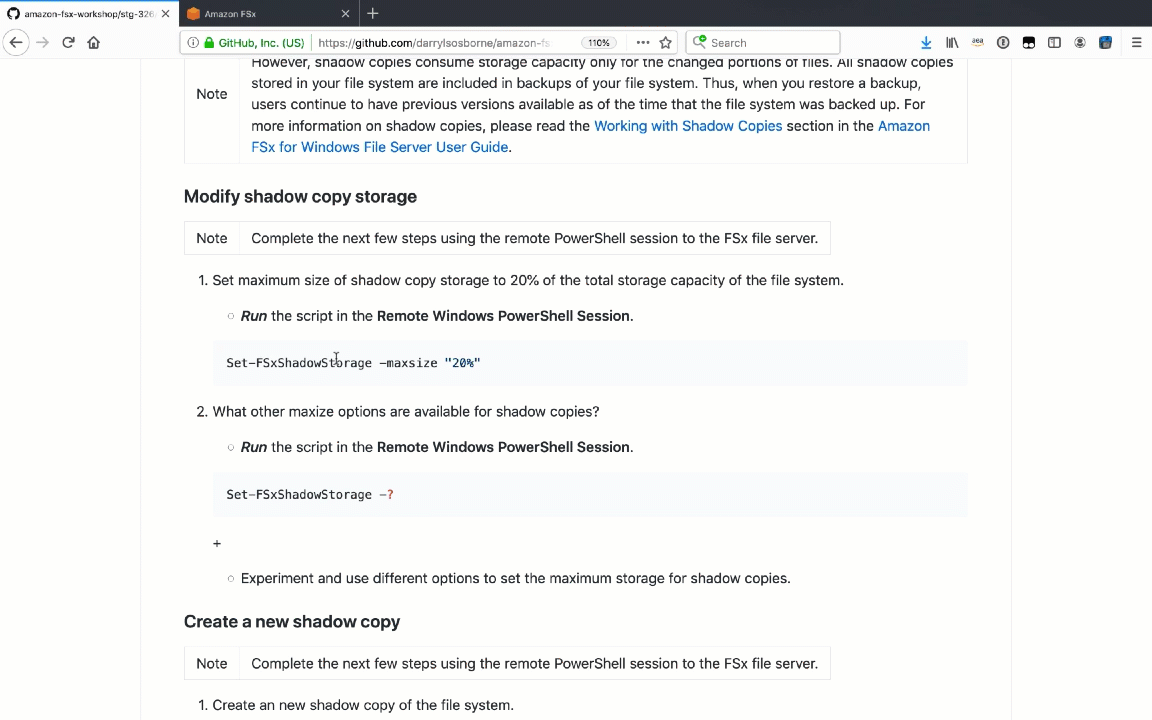
Set maximum size of shadow copy storage to 20% of the total storage capacity of the file system.
- Run the script in the Remote Windows PowerShell Session.
Set-FSxShadowStorage -maxsize "20%" -
What other maxize options are available for shadow copies?
- Run the script in the Remote Windows PowerShell Session.
Set-FSxShadowStorage -? -
Experiment and use different options to set the maximum storage for shadow copies.
Create a new shadow copy
Important
Read through all steps below and watch the quick video before continuing.
Note
Complete the next few steps using the remote PowerShell session to the FSx file server.
-
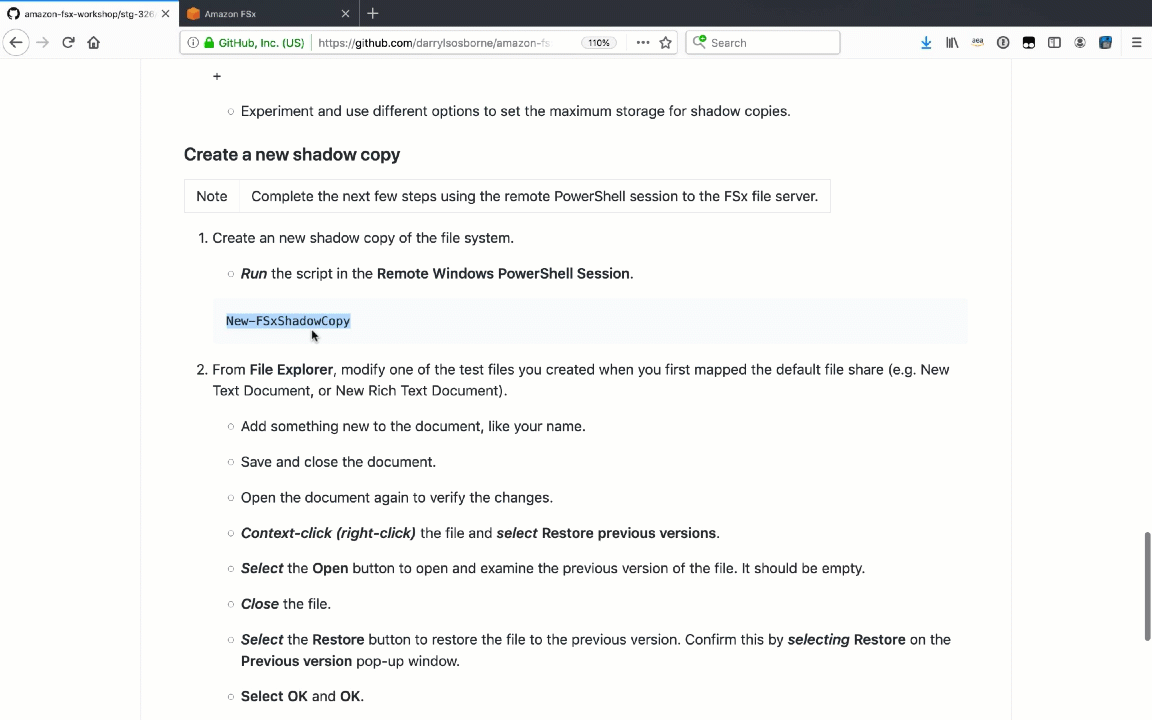
Create an new shadow copy of the file system.
- Run the script in the Remote Windows PowerShell Session.
New-FSxShadowCopy -
From File Explorer, modify one of the test files you created when you first mapped the default file share (e.g. New Text Document, or New Rich Text Document).
-
Add something new to the document, like your name.
-
Save and close the document.
-
Open the document again to verify the changes.
-
Context-click (right-click) the file and select Restore previous versions.
-
Select the Open button to open and examine the previous version of the file. It should be empty.
-
Close the file.
-
Select the Restore button to restore the file to the previous version. Confirm this by selecting Restore on the Previous version pop-up window.
-
Select OK and OK.
-
Open the document again to verify the file was restored to the previous version - an empty file.
-
-
Experiment creating new files, folders, and taking shadow copies.
-
End the remote PowerShell session. Run Exit-PSSession.
-
Close the PowerShell window. Run exit.
-
Close the File Explorer window.